Showing posts with label tutorial. Show all posts

6.23.2012

Box-Bottom Tote Tutorial

Summer is upon us and around here, that means one thing... BEACH!!

Each year, we start summer with a beach trip to Hatteras, NC with some friends.  Feeling the need for a quick project I decided to use up some tropical scraps I had laying around for a quick little beach bag.
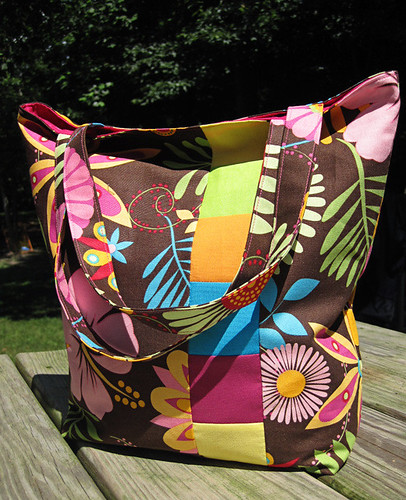

tropical tote - final


Now, please note...I'm not one to lug everything but the kitchen sink down to the water.  I pack light, so my bag is light.  A book, some sunscreen,  bottle of water and maybe a small snack are all that go with me and my beach chair.  However, if you like to take more than that with you, this tote is still perfect for those little things that get lost (or covered in sand!) in those humongous beach bags.

The whole thing took about 3 hours - and that's with me stopping to take notes and pictures!  I'm sure your bag will go faster than that.   Enjoy!

Box-Bottom Tote Tutorial

Fabric:

To start, you'll need to choose an outer fabric, an interior fabric, and fabrics for your accent stripe.  You could probably use scraps for this project, depending on how big your scraps are.

NOTE:  Sewing is right sides together with 1/4-inch seams unless otherwise noted.
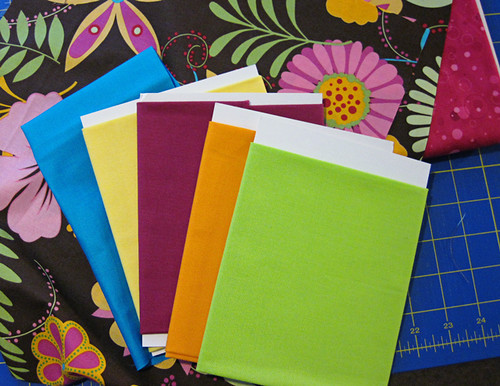
tropical box bottom tote 1


From the outer fabric:  Cut two 4.5 x 14.5 inch pieces, and two 8 x 14.5 inch pieces for the outer shell.  Cut two 4 x 18.5 inch pieces for the straps.

For the accent stripe, cut fourteen 2.5 x 2.5 inch squares.

From the interior fabric, cut two 14 x 14.5 inch pieces for the main interior and two 4.5 x 6.5 inch pieces for the slip pocket.

Directions:

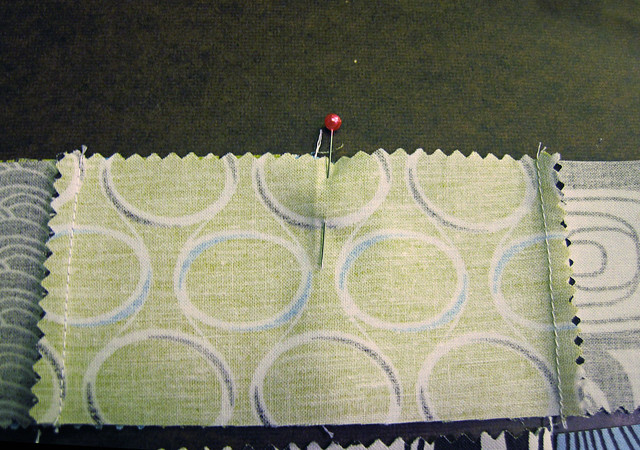
Sew seven of your 2.5 inch squares together to form a strip 2.5 inches wide by (approximately) 15 inches long.  Repeat with the remaining seven squares so you have two strips.

Line up the long side of one of your strips with the long side of one of the 4.5 x 14.5 piece of outer fabric, right sides together.  Sew together and press seams to the outer fabric.
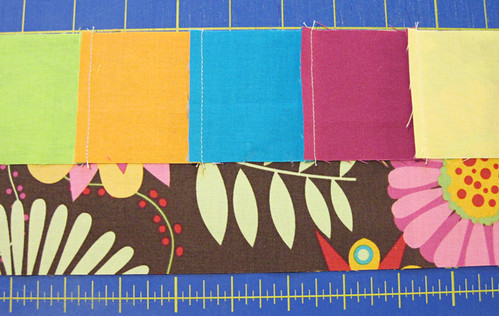

tropical box bottom tote 2


On the other side of the squares strip, line up one of the 8 x 14.5 inch piece of outer fabric and sew, right sides together.  Press toward outer fabric.
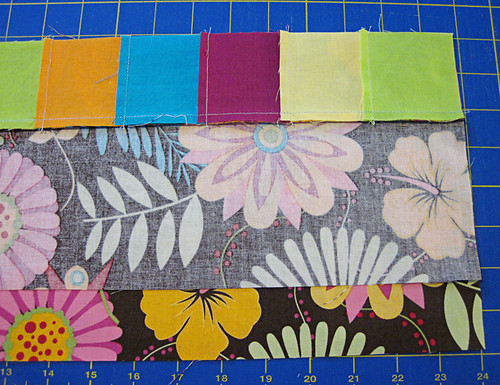

tropical box bottom tote 3


 You should now have a piece that looks like this:
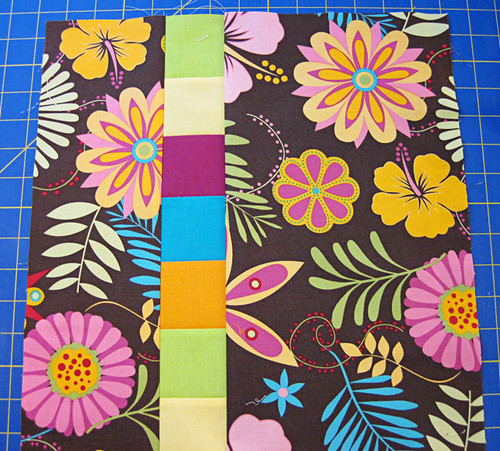
tropical box bottom tote 4


Repeat with the second set, sewing the squares strip to the outer fabric pieces in the same way.  Trim to 14 inches across and 14.5 inches long.

Place your two outer panels right sides together.  You can chose to have the stripes meet or not.  I wanted my bag to look the same on both sides, so my stripes did not meet (see below).
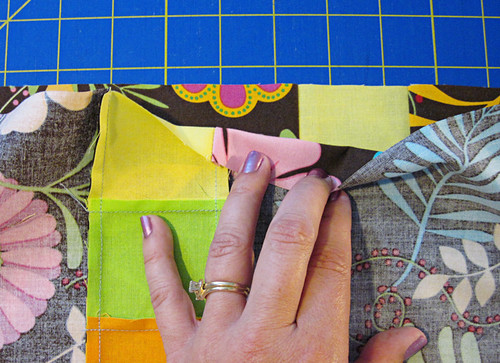
tropical box bottom tote 5


Sew around the side, bottom and side edges of these pieces.  Do not sew across the top - leave it open.

To box the bottoms, pull your fabric apart and fold the bottom so that the seam is on top and the fabric forms a triangle.  Measure the tip of this triangle at two inches, using the 45-degree angle on your ruler as a guide.  With a fabric marker, mark the line on the left side of the ruler.  Sew on that line.
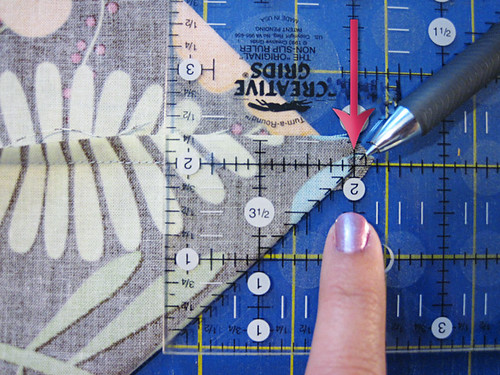

tropical box bottom tote 6


Once sewn, line up your ruler so that the 1/4-inch mark is on the line.  Trim.  This gives you a 1/4-inch seam.
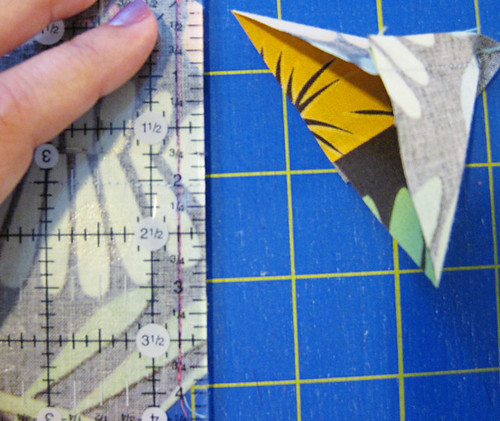
tropical box bottom tote 7


Repeat for the other bottom corner of the bag.
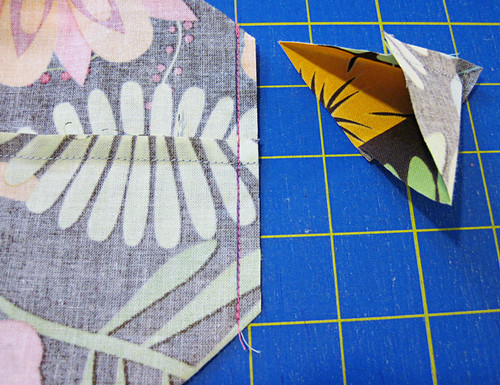
tropical box bottom tote 8


Now, let's move to the pocket.  With right sides together, sew around all four edges of the fabric, leaving about two inches to turn. 
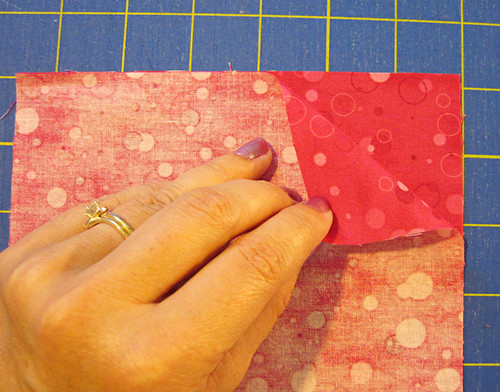
tropical box bottom tote 9


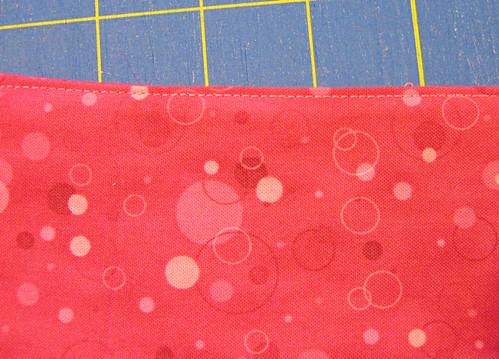
Turn the fabric right-side-out and press flat.  Tuck in your open edges at the top (the hole you turned the fabric through), press them inside and pin.  Topstitch across the top of the pocket.  It should be about 1/8-inch from the edge and it will close up that open spot.

The top edge should look like this:
tropical box bottom tote 10


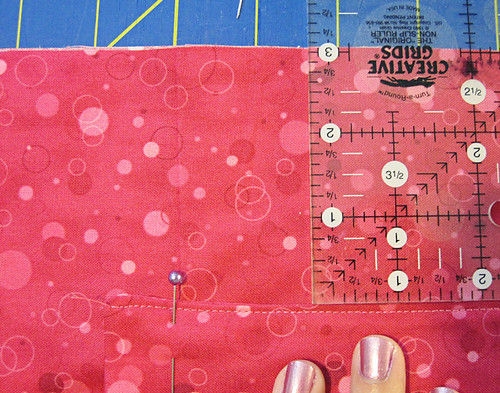
Taking one of your interior pieces, pin your newly created pocket about 3-inches from the top edge of the interior piece.  Sew around the sides and bottom of the pocket, backstitching at the top on both sides for a little added strength.  (Leave the top open, or it will be a patch and not a pocket...LOL!)
tropical box bottom tote 11


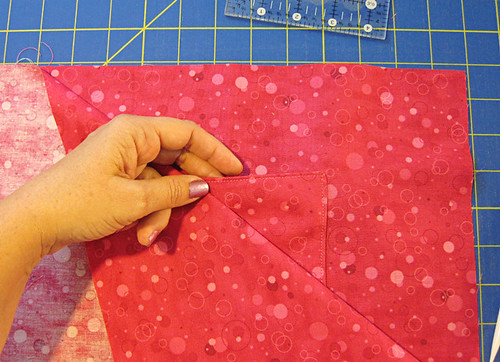
 Now, to finish the interior, take your other large piece (14 x 14.5) and place it on the interior piece with the pocket sewn on.  Make sure your pocket is face up.
tropical box bottom tote 12


Just like the outer fabrics, sew the interior panels together on the sides and bottoms only.  Leave the top open.  Box the corners using the same method that we used for the outer fabrics... measuring two inches out and cutting a 1/4-inch seam.

When finished boxing the corners, turn your interior panel right side out (leave the outer fabrics wrong side out.)
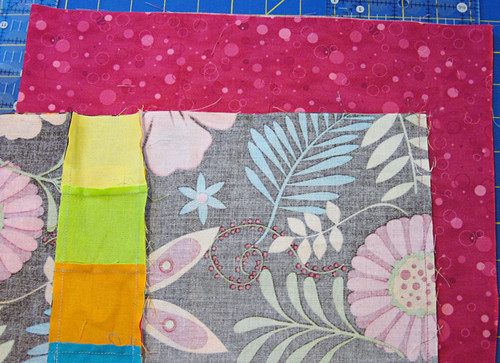
tropical box bottom tote 13


Now, let's make the straps.

 Mark the lengthwise center of each of your 4 x 18.5 pieces with a fabric marker. 
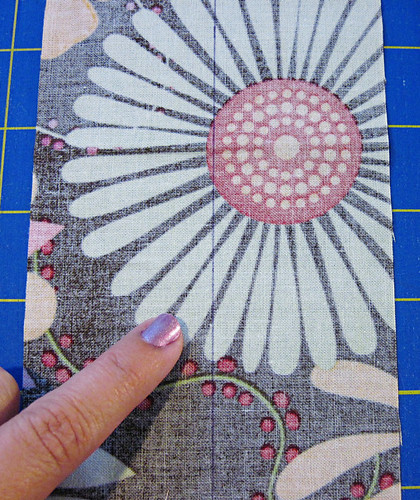
tropical box bottom tote 14


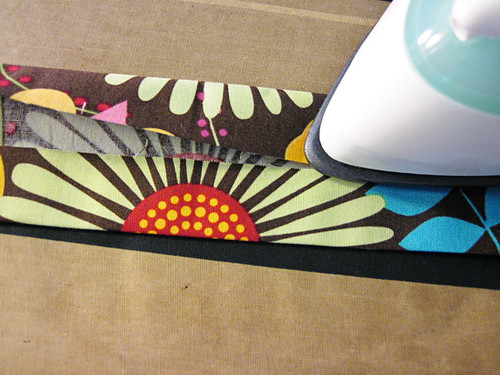
Press each edge in to the mark you just made.
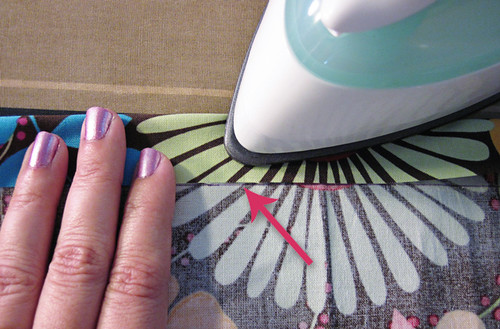
tropical box bottom tote 15


tropical box bottom tote 16


Then, keeping the edges in the center, fold the folded edges together and press. 
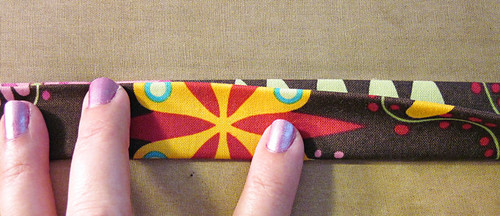
tropical box bottom tote 17


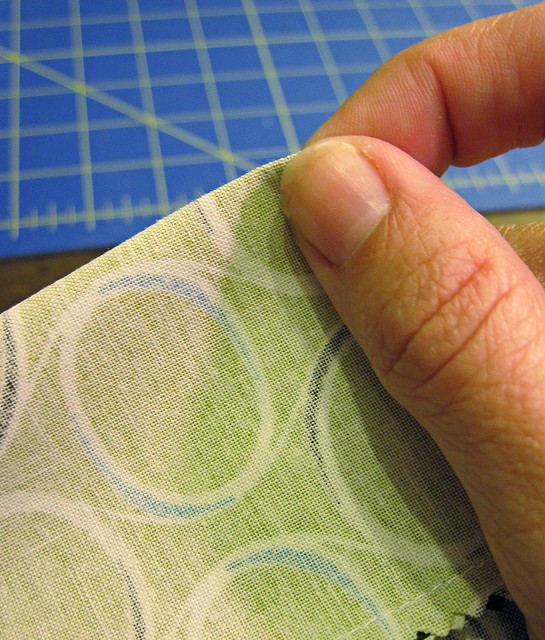
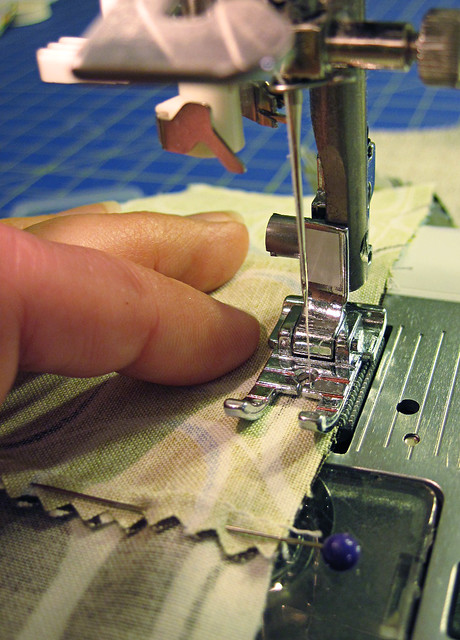
Pin together, then sew a 1/8-inch seam to close.  Then topstitch another 1/8th seam on the other side to match.  Repeat the same process to make a strap out of the second 4 x 18.5 inch piece.

Your finished straps should look like this:

tropical box bottom tote 18


To attach the straps, pin them so that the outer edge of the strap is about 2.5 inches from the edge of the interior piece.  Pin it so that the raw edge of the strap is a little over the top edge of the interior fabric, not lined up perfectly.
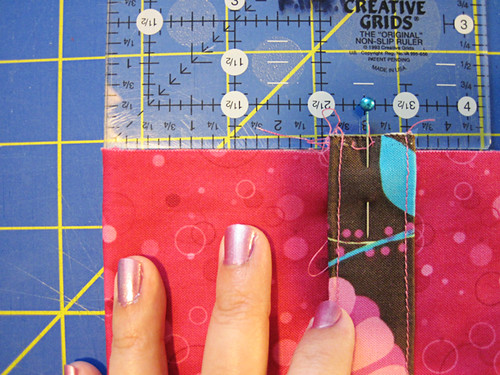
tropical box bottom tote 19


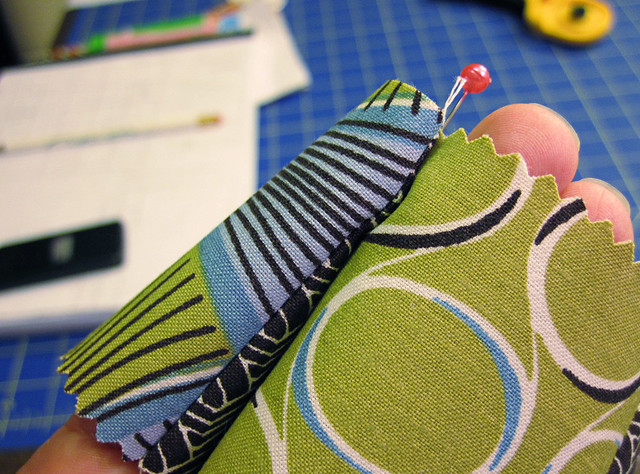
Pin the other end of the strap about 2.5 inches from the opposite side.  To ensure your strap doesn't twist, make sure it forms a "U" shape as shown below. 
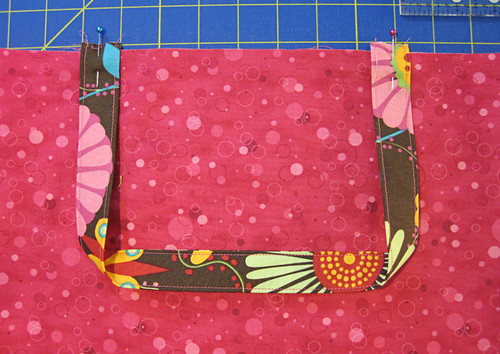
tropical box bottom tote 20


Repeat with the other strap, pinning to the other side of the interior panel.  Be sure you are only pinning each strap to one part of the interior - don't pin your interior together in the process.

Now comes the fun part!

Tuck your interior piece - still right side out, with straps pinned in place - into the wrong-side-out outer shell piece.  Line up your boxed corners as best you can, but don't worry too much about them.  Focus on getting your side seams lined up.  Pin in place.
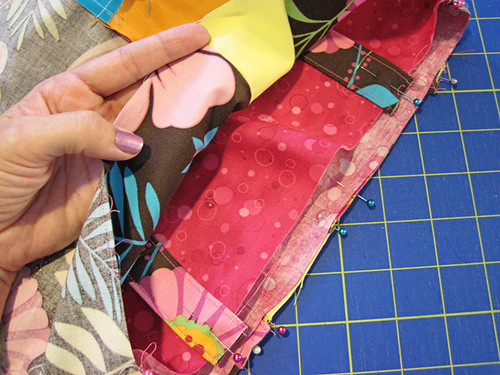
tropical box bottom tote 21


With the interior and exterior facing (with straps in between), sew around the entire top with a 1/4 inch seam, leaving a 3 or 4 inch opening to turn.  I also like to backstitch on each side of each strap, for a little more strength in that spot.

Once finished, turn the bag, pulling the interior and exterior fabrics through the hole you left open.  This part can get a little frustrating - take your time and go slow.  :)
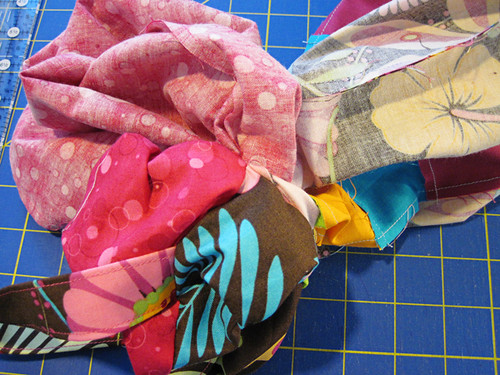
tropical box bottom tote 22


Once you have the bag turned right side out, tuck the interior into the exterior, matching up your boxed corners.  Press your seams for a crisp finish, tucking in the seams at the opening that you turned the bag through.

Top-stitch a 1/8-inch seam - just like we did for the pocket - to close your opening and give your bag that nice, finished look.  Now, tuck in a good book, some water and sunscreen, and head out to the ocean or pool!
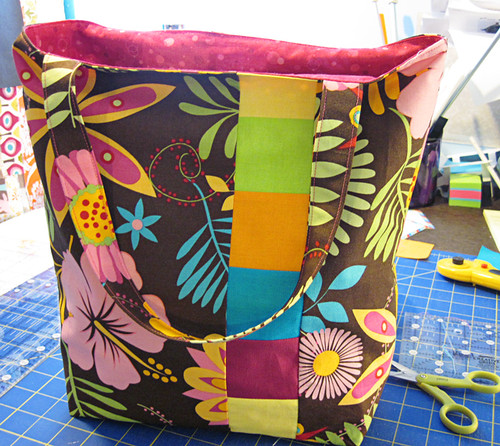
tropical box bottom tote 23


Enjoy your summer!!

Photobucket

Linking up:
BWS tips buttonFresh Poppy Design

9.02.2011

it's official... i'm a dork.

psst - if you are looking for my Finished it Friday post for this week, it's here.

That's right, folks.  I'm a dork.   ;o)

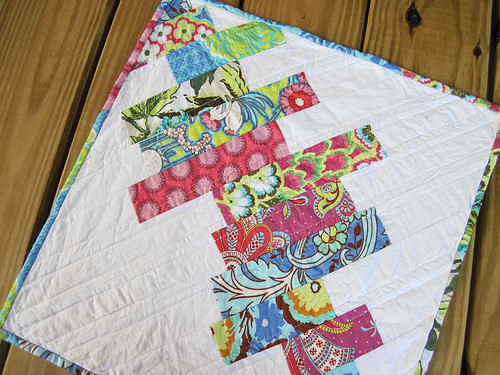
A month or so ago, my friend Aubrey asked me to do a tutorial that she could feature on her blog while she was on vacay and I jumped at the chance.  I wanted to do something small because of the mountain of to-do's I had going on.  Pair that with a long-overdue desire to make something for my square dining room table and, voila!!...my Soul Blossoms table topper.


IMG_3402_edited-1.JPG


So, head on over to Aubry's and check it out. It actually went up yesterday.  For some reason I had September 11th in my head, but, as I said in my title, I'm a dork.  So to say the least I was pleasantly surprised when I saw her twitter post this morning.  ;o)

We head to the lake in a few hours for the long weekend . . . cannot wait.

Enjoy the topper tutorial!

Photobucket

7.18.2011

Tutorial - Offset Log Cabin Mug Rug

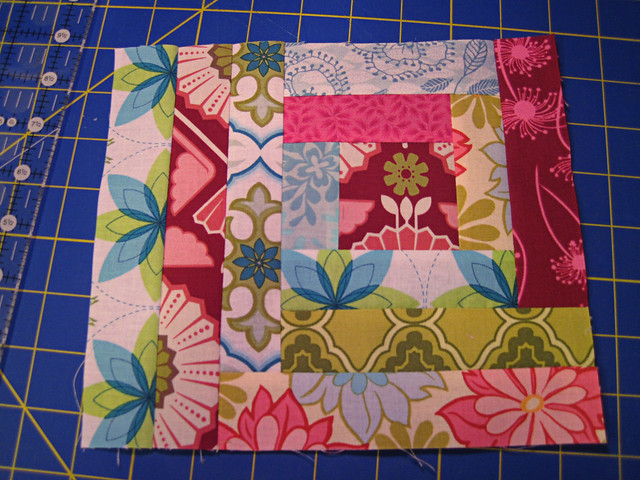
Ever since I made my first mug rug, I've been hooked. I've participated in several swaps and made a few as gifts, too. They seem to be the perfect project...easy to design, very unintimidating (compared to an entire quilt), great scrap busters, and simple enough to finish in a very short amount of time. I love them!

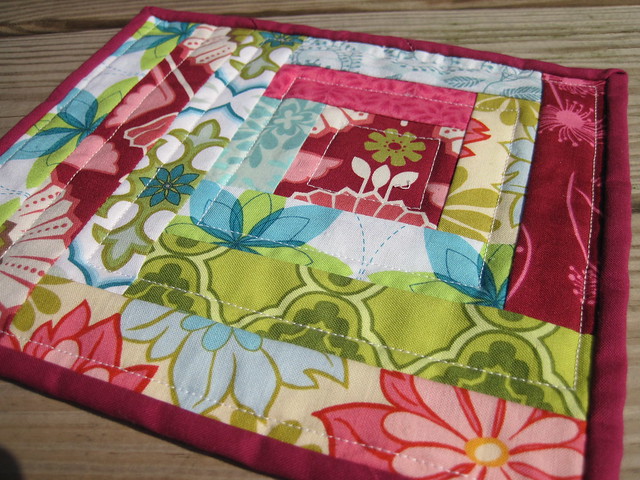
This is one that I made back in May for a swap. I decided to make a tutorial for it. It's based on a basic log-cabin block, but I wanted it to be rectangular in shape, so I off-set it just a bit.


IMG_2423-1


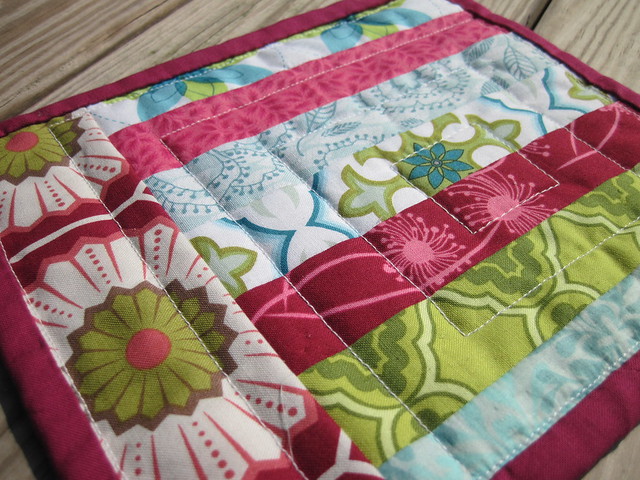
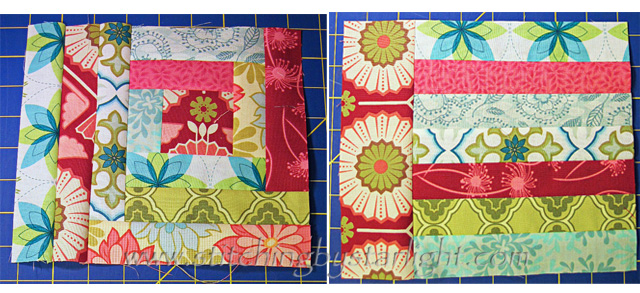
And, of course, you knew I'd make it reversible...LOL!


IMG_2425


So.... on with the tutorial!

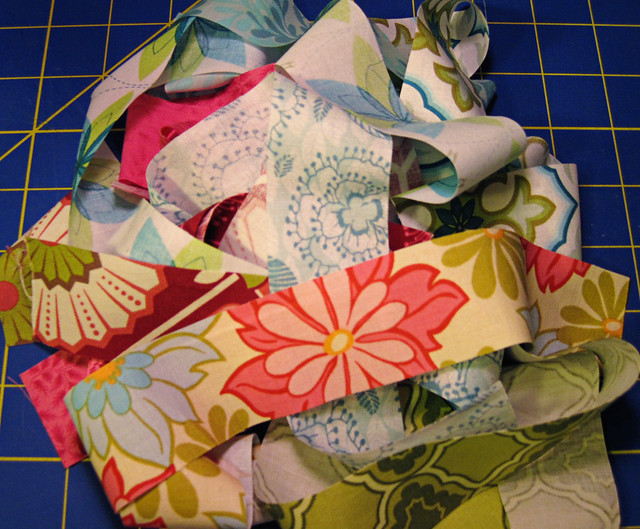
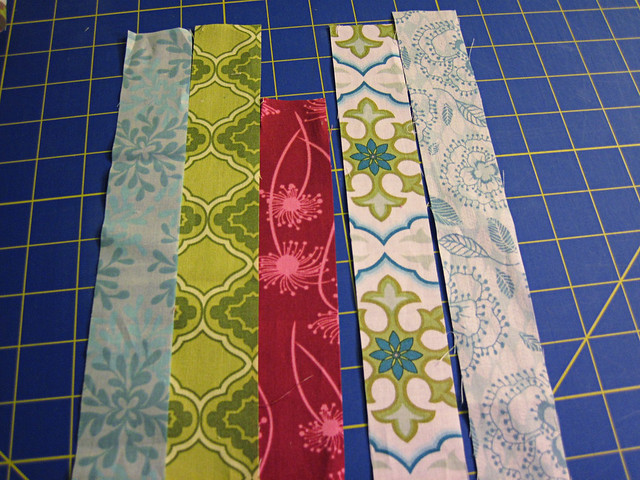
Start by gathering scraps from you scrap bin, and match them up with good color and contrast. You'll need one 2-1/2 inch square (I fussy-cut mine) and several 1-1/2 inch wide strips of varying lengths.


IMG_2372


Now, to those who like hard-and-fast measurements at the beginning, I apologize. But I didn't measure these out first. Hang with me and you'll see what I mean. :)

Starting with your 2-1/2 inch square, attach a 1-1/2 inch strip to each side, trimming as you go, to make a square.


IMG_2375


Basically, you start at one end, sew the strip, press your seam, and them trim off the excess. (I pressed all of my seams toward the outside of the block.)

Voila! Round 1 complete.


IMG_2381


For Round 2, continue adding "logs" to the block one side at a time, trimming as you go. I find it helpful to pin at my seams, but these are so small you may or may not want to.


IMG_2383


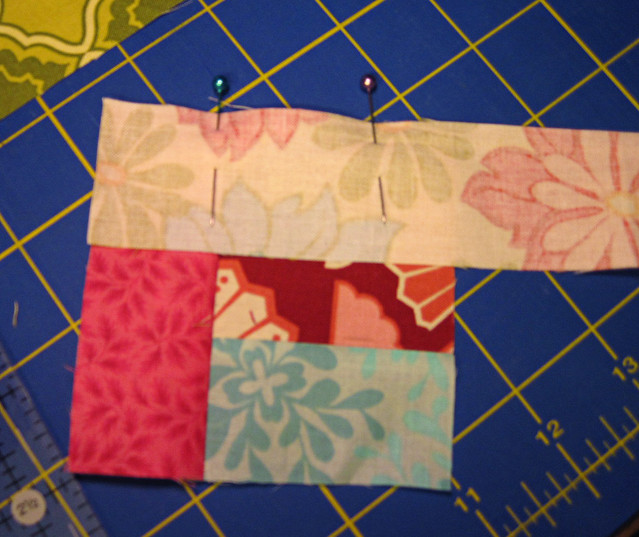
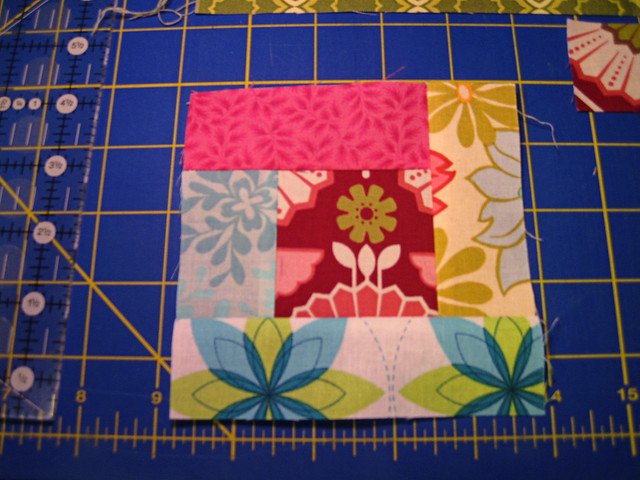
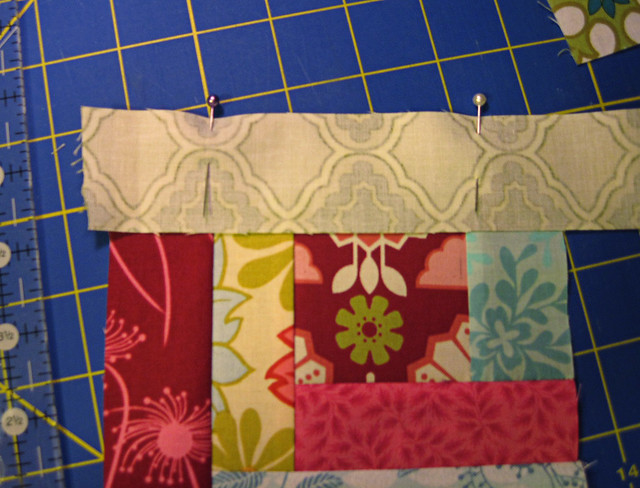
Once you have Round 2 done, it's time to offset.  At this point -- especially if you fussy-cut your center square -- decide which way is up.  Add a log to the bottom of your square, press and trim.  Then, just as if you were working around the square, add a log on the left.  Repeat, adding one more log on the left.

Once trimmed, it should look like this:


IMG_2387


Now, for the back.

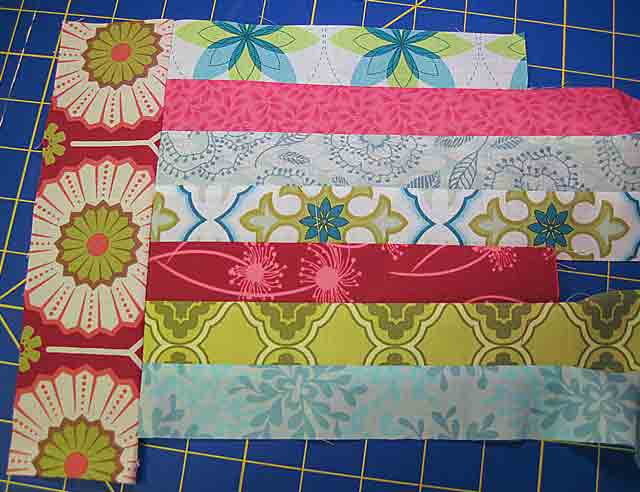
Choose five of your strips (or you could use five totally different strips) that are a bit longer than the width of your mug rug top. Sew them together, matching ends at one side, to make a strip set.


IMG_2388


Add a vertical strip to the even (matched) side of your strip set.


IMG_2390


Trim. Now you have front and back.


IMG_2392


For basting, line up the vertical strip on the back so that it is pretty close to the edge on the front - this will keep you from loosing too much of the vertical strip when trimming at the end.

Baste and quilt - I used a simple straight-line stitch, but there are many options to quilting this. Once finished, bind as you normally would a quilt, but consider using a thinner strip. I use a 1-1/2 inch strip for binding my mug rugs as a wider strip seems to overwhelm the mat. Test first - you may need to adjust needle placement for a less than 1/4-inch seam.

Your finished project should look something like this:


IMG_2423-1


I hope you enjoy using this tutorial. As always, please let me know what you think and if you make a mug rug using this, be sure to upload it to the Stitching by Starlight Flickr group!


BWS tips button


Photobucket

6.17.2011

Brick block tutorial - featuring Daisy Janie

A while back, Jan at Daisy Janie Organic Fabrics posted an idea for a Project Linus quilt.  In a nutshell, she was looking for quilters to help by making blocks for a quilt.  She would send out charm squares to anyone interested, we would make the block, send it back, and she would assemble the quilt.  I've been wanting to try her fabrics for a while, and I love the idea behind Project Linus, so I jumped right in.

The instructions were simple... make a block.

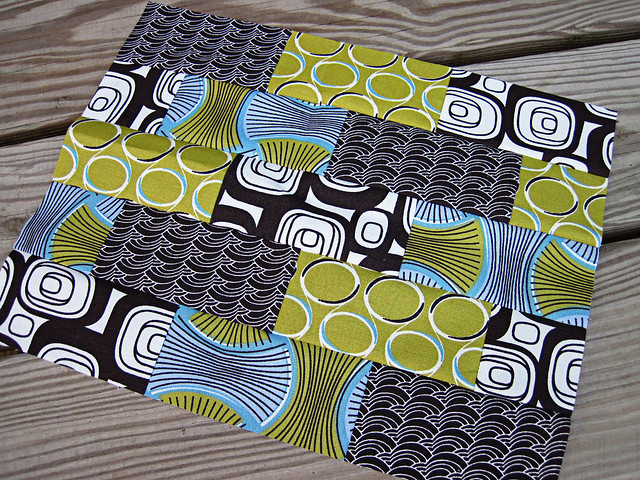
No specific pattern, no size limitations, etc.  Just make a block using the fabric she sent.  I played around a bit in my mind and ended up with this:


IMG_2885_edited-1.JPG


And here's a tutorial for it!

One small note... this is a rectangular block.  Finished size is approximately 10.5" x 14.5".  However, if you wanted to make it a square, it would be easy enough to alter.  I wanted to use as much of the material as possible, thus the rectangle shape.

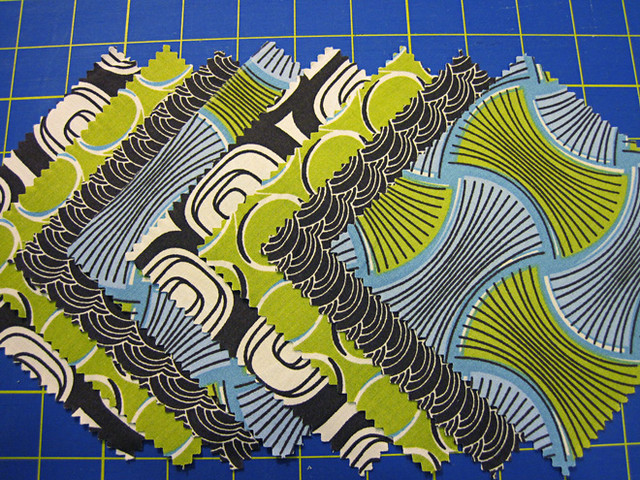
To start, choose eight 5" (charm) squares.

IMG_2864.jpg

Featured here are (left to right) Hip Squares, Crystal Ball, Caravan, and Bundles from Daisy Janie's Geo Grand collection.

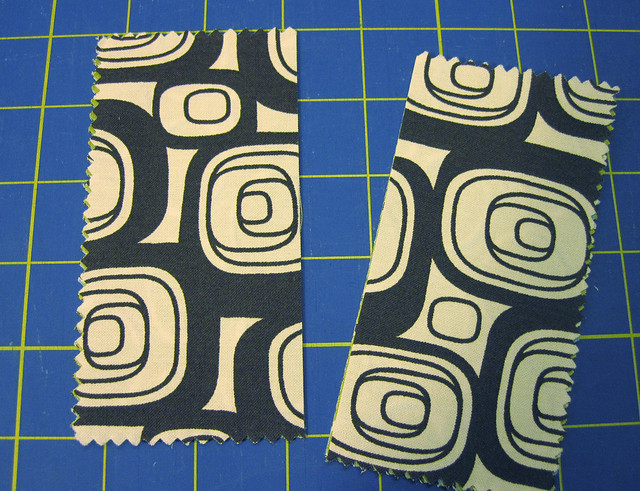
Cut each square in half to make a total of sixteen 2.5" x 5" strips.

IMG_2865.JPG

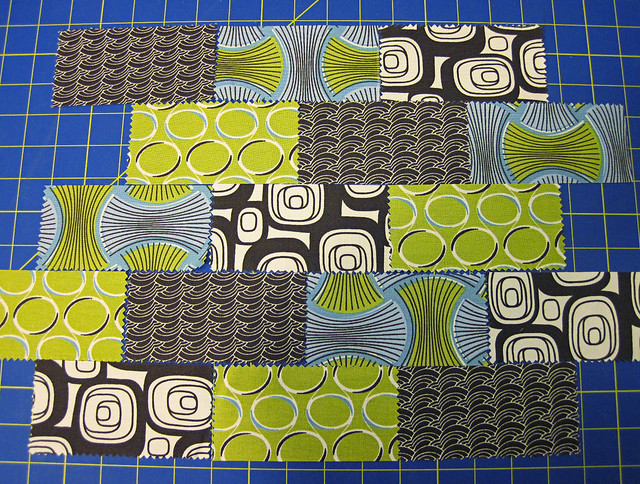
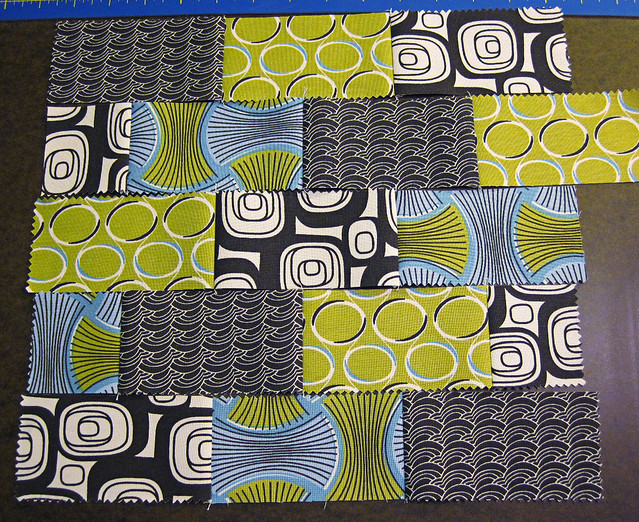
Once cut, lay out your strips in such a way that they look like bricks stacked on top of each other. I chose to lay mine out in a stairstep fashion, alternating the green and blue with the browns.

IMG_2869.JPG

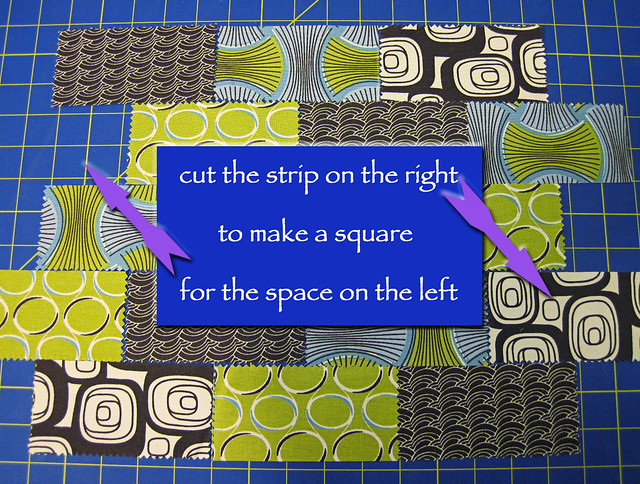
As you can see, some strips will hang off the sides. For one of them, you will need to cut a strip in half to fill in the hole on the second row (see below).  I cut the brown (bottom right) to fill in the hole (top left) so that the pattern continued.

IMG_2869_edited-2.JPG

For the other danglers, you have two options on cutting.

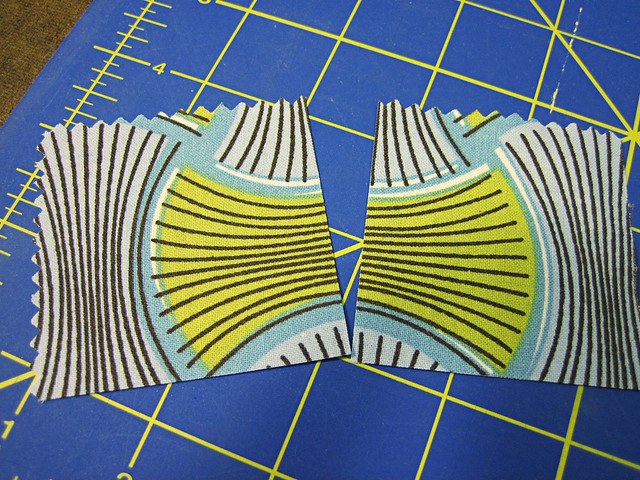
Option 1: cut them into 2.5" squares like so...

IMG_2872.JPG

...and attach them when sewing.

Option 2: leave them as-is and attach, trimming at the end.

I chose both - I chose to cut the Bundles (green/blue) strip and leave Crystal Ball (green circles) strip so you could see each.

Now, using that infamous scant 1/4-inch seam, sew your strips together to create five rows.

IMG_2873.JPG

You should end up with something like this (remember, the green is the dangler I left in):

IMG_2874.JPG

Don't panic if the rows aren't the exact same length. Some have more seams than others, which cuts down on the row length. For instance, in the photo above, you can see that the fourth row down is shorter than the row above and below it. That's OK.

Now, because the rows are uneven, we aren't going to line them up at the edges to sew them together. Instead, center the rows by folding the top one in the center, finger-pressing (no iron needed), and matching the crease to the seam below it in the second row.

Clear as mud?  OK step by step...

Take Row 1 (at the top) and fold it in half.

IMG_2876.JPG

Finger press to make a slight crease.

IMG_2875.JPG

Pin to Row 2 (right sides together) so that the middle seam of Row 2 matches up with the crease you just created in Row 1.

IMG_2877.JPG

IMG_2878.JPG

Sew Rows 1 and 2 together, using a scant 1/4" seam.

IMG_2880.JPG

Continue the same process by finding the center and sewing each row together, folding to create a crease and matching it to the center seam in the adjacent row.

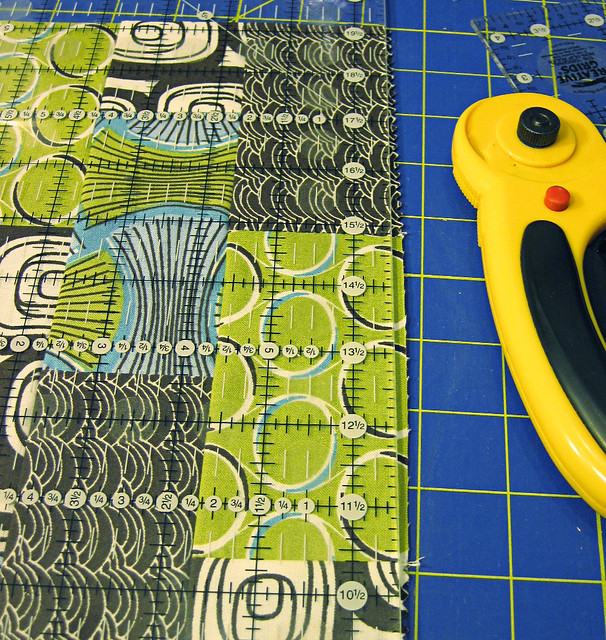
Once you have all rows sewn, trim your block, cutting only the minimum necessary to make a straight edge on all sides.

IMG_2881.JPG

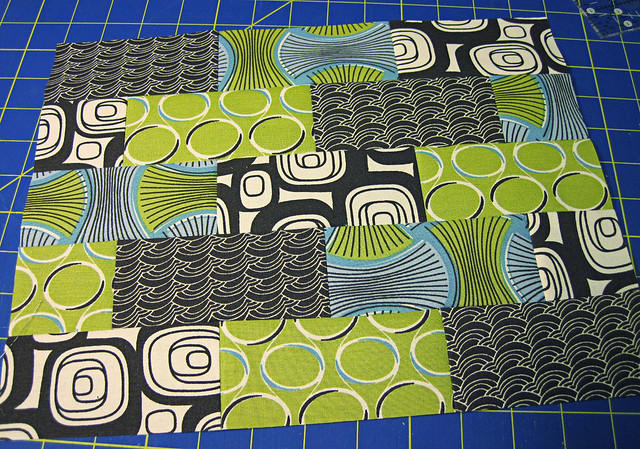
When you're all done, your block should look like this:

IMG_2882.JPG

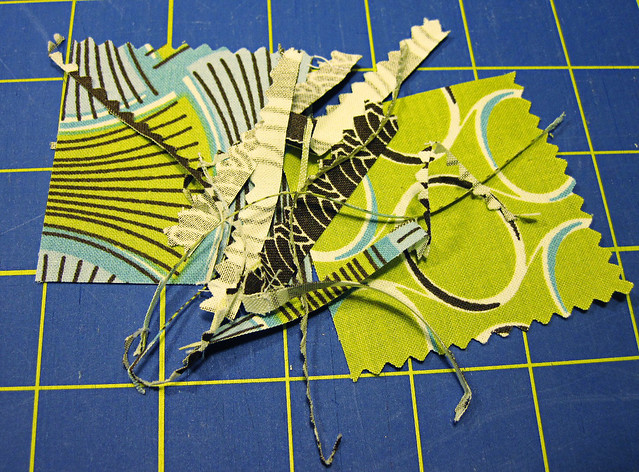
...and your leftover scrap pile like this:
IMG_2884_edited-1.jpg

I know, not much for building a stash, but pretty awesome for trying to use all your fabric!!


Now, if you were wanting to make a square you could either adjust the original layout (before sewing) and cut more strips into squares to fill holes. Alternatively, you could trim to a 10.5" square in the final step and have more for your scrap bin. Either way would work just fine.

I hope you enjoy this block! Be sure to keep an eye on the Daisy Janie blog for pictures of the quilt. I can't wait to see how it turns out.

Oh, and if you make a block using this tutorial, please add it to the Stitching by Starlight flickr group.  I'd love to see it!!


{Sew} Modern Monday at Canoe Ridge Creations
UndertheTableandDreaming


Photobucket