11.12.2014

a quilt for hubby

My first quilt finish of 2014 (yes, I know it's November...) was actually a long time in the making. But for a very special man.

hubbys quilt

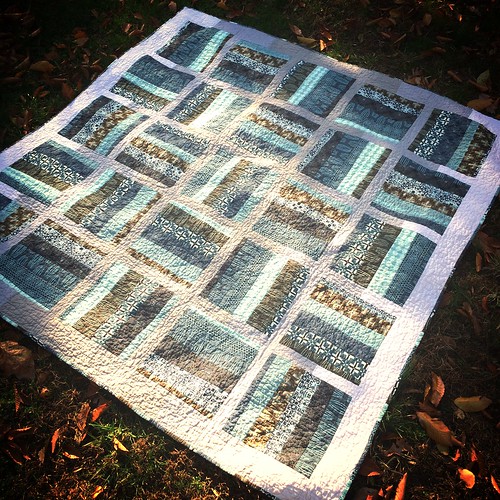
A couple years ago in blog-land, a buzz went around about making quilts for our beds.  The idea was that we all had tons of beautiful quilts, but nothing for our beds.  I was immediately inspired, so I went on the hunt.  We were ready for a change and the newly released Parson Gray Curious Nature was the perfect line.  I bought Tula Pink's Cherry Pie pattern, chose my fabrics (focusing on the browns and blues) and off I went.

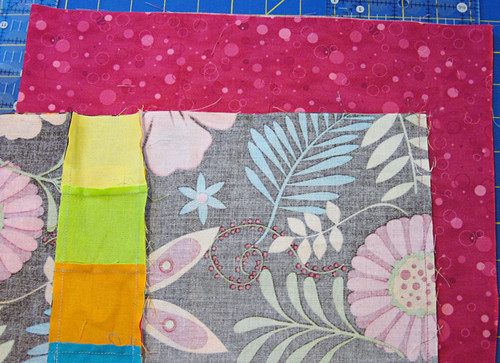
I fully intended to make the large version of the quilt, which calls for 17-inch blocks.  I started sewing and cutting and...wouldn't you know it, I ran out of fabric.  I had mis-measured or mis-trimmed or something and, quite frankly, it stalled me out.  I didn't want to undo the strips as they are wonky-cut, so I knew getting them back together would be an issue.  I also didn't want to just go buy more fabric, because then all my blocks would have the same fabric on the edges...I wanted to keep the random look.  So, they sat...and sat...and sat.

Fast forward about two years.

I come across the blocks, still unfinished, while setting up my new sewing room.  Still frustrated, and not sure what to do, they hang for another few months.  Then, suddenly, it dawns on me...duh!...cut them down.  Then, an even better idea - make a quilt for hubby, and give it to him for Christmas.

One of my first quilts, my Coffee Quilt, was for him.  I bought the fabric at a quilt show with no plan and almost no experience.  I only had enough for a 48x48 quilt.  Um... hubby is 5'11".  The running joke in our house is how the first quilt I made him is only good for covering his legs.  :)

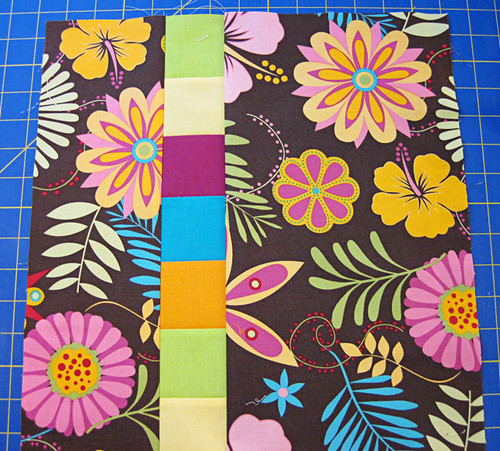
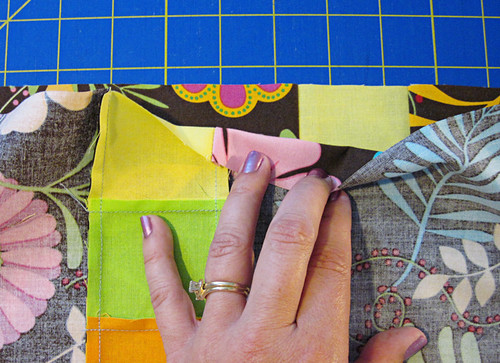
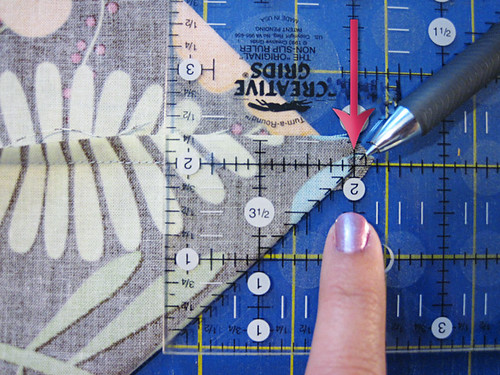
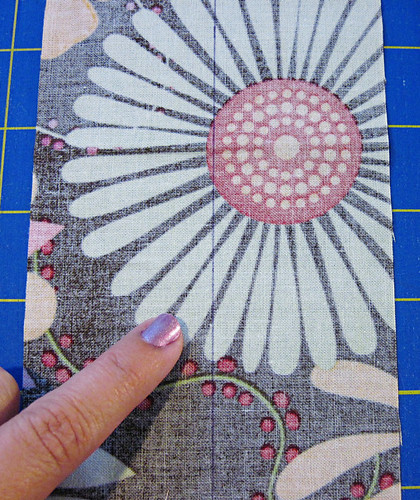
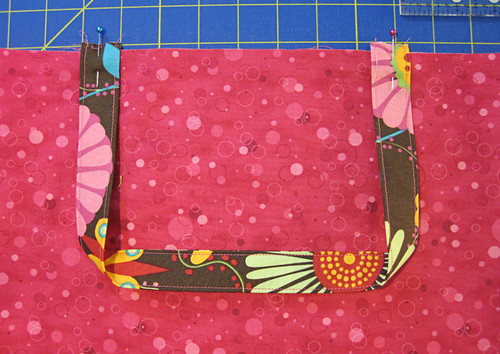
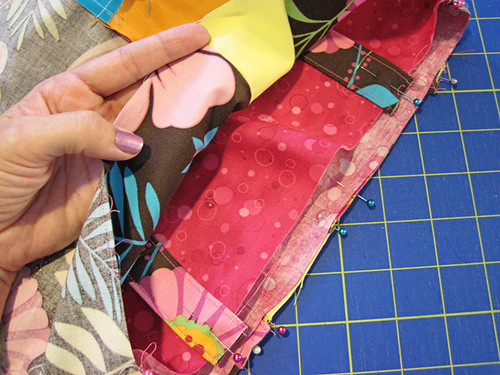
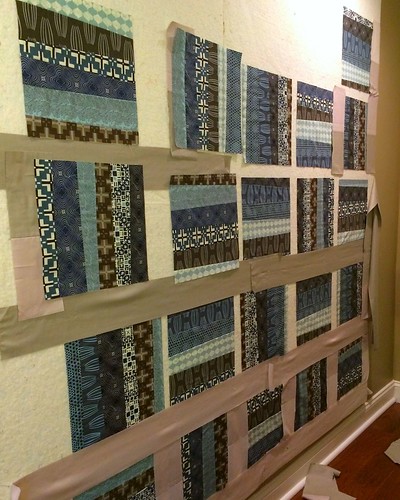
So, one weekend while he was away with friends, I pulled out the blocks and started measuring.  (I'd also managed to lose the pattern.) Yep...12.5" blocks would work!  I dug out my partially-sewn background strips, played around on my design wall, and then waited.

Untitled

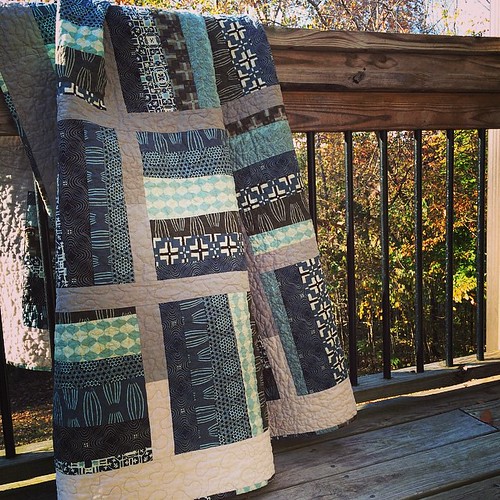
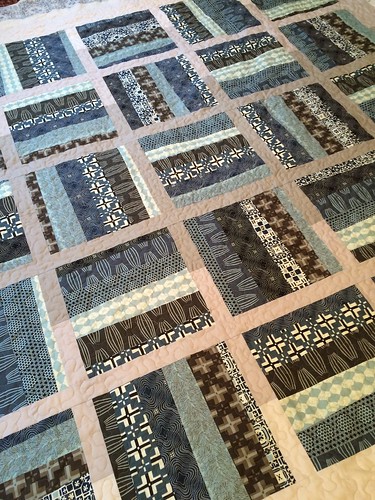
He was getting ready to leave the country for ten days, so that gave me the perfect chance to work on it without him seeing me. Within a few days of his departure, the top was done.  One seam down the back, and it was done. Then came the hard part...the quilting.

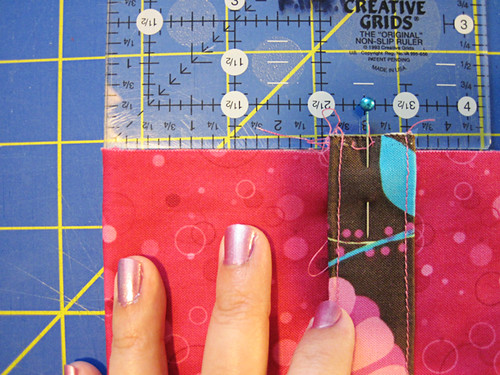
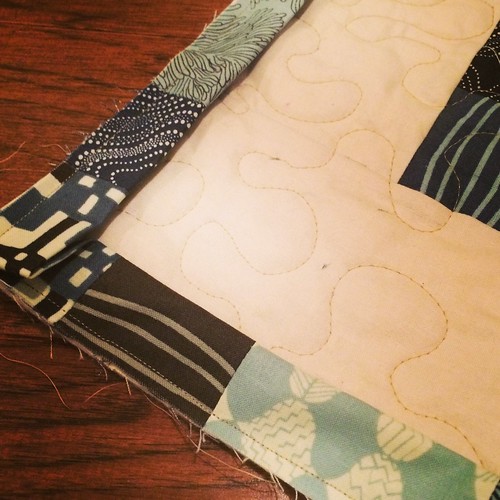
My friend Kelly...an FMQ goddess...taught me to free-motion on my home machine, but I was scared to death.  I've quilted my own quilts before, but always on the long-arm at the local shop, and usually with a good bit of frustration (and even tears!).  I had all these grand schemes in mind...different quilts for different blocks...but then decided to just stick with a simple meander.  Two days and three bobbins later, I was done!


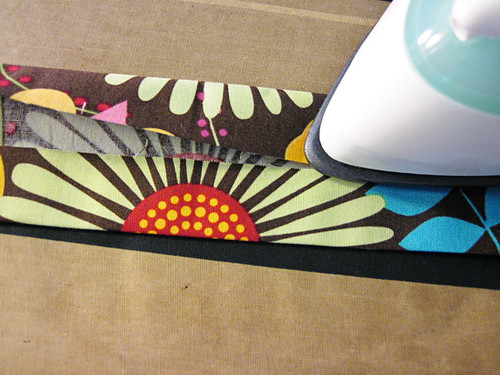
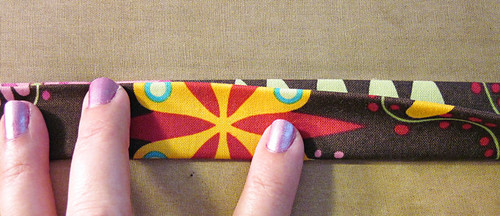
I made a scrappy binding, got it attached and finished turning it the day before he got home.


Washed and dried into crinkly yumminess.  Perfect timing.

Untitled

When hubby got home, I couldn't stand it.  Maybe because I was so excited at my accomplishment.  My first finished quilt in over two years, and my first free-motioned quilt on my own machine (incidentally, the machine that he bought me).  I was so excited, I just had to show him!  So...I caved.
Couldn't help it.

...He loved it.  :)

hubbys quilt


~*~*~*~*~*~*~*~
Quilt Stats

Pattern: Cherry Pie by Tula Pink; modified
Size: approx. 78" x 78" 
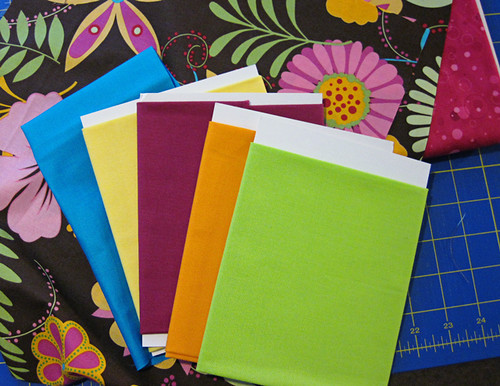
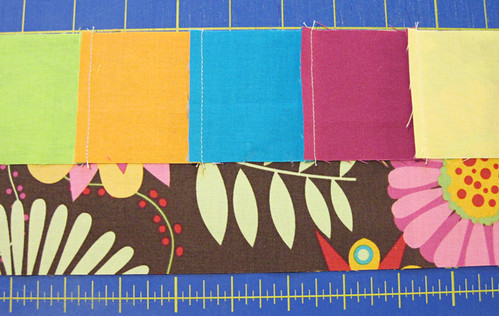
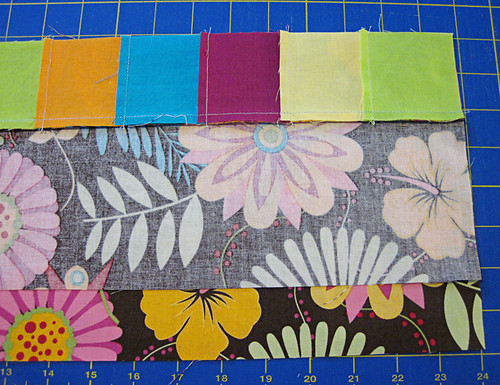
Quilt Top Fabric: Parson Gray Curious Nature and Westminster Solids
Backing: Parson Gray Curious Nature, "Sand"
Binding: Quilt top scraps
Pieced and Quilted by: Angie Kimel (Viking Sapphire 830)

~*~*~*~*~*~*~*~

12.21.2013

airplanes and chickens

*tap, tap*  …is this thing on?

Well - I knew I'd take some time off from blogging, but never guessed more than a year would go by.

A year.

And what a difference that year has made.  So much has changed that I'm not even sure where to start.  New job, new car, new house…our lives are so much different than October 2012, when I last posted here.  Losing my dad was a blow I did not expect - nor did I expect the aftermath.  It took nearly a year before I felt anywhere close to normal again…and I still have my days, though they are more and more rare.

After spending some time just breathing again, life started to get back to normal.  I still didn't sew much, but would try to start a project or two.  Work had become fairly dull, with the big project I was on downsizing to a smaller one.   Then, in March, I finally succumbed to a friend's long-time pestering about working with him and I left my job at the local medical school…one month shy of being there twenty years!  I now work in the medical device industry, monitoring aortic heart valve studies.

Part of that job is travel.  A big part.  Like, 70% part.  Most weeks I leave on Sunday and am gone through Wednesday.  Lots of plane rides.  In fact, I just reached Platinum status with Delta last week (woohoo!).  I used to think the frequent-flier program was silly, but now I get it.  Boy, do I get it.


A few short months after that, we moved.  A friend had decided to sell his house and, knowing we would be interested, texted out of the blue one night.  I'll expand in a later post, but to keep it short here - we ended up trading houses.  He bought ours and we bought his.  We now live on a ten-acre piece of property with a huge field and…chickens!

I'm a chicken farmer now.  We get about seven eggs a day, though they have slowed down now that it's cold.  The chickens came with the house as the previous owner had them and had built a coop.  They are so fun - and I never would have thought that I would say that.  We free-range them during the day, so at any moment a chicken could walk right up to the front porch.  They are so fun to watch.

Quilting has been on hold for a while, but I started back a little a few weeks ago.  It's harder right now because I don't have a dedicated space.  We have an unfinished room over our garage that we will start working on after the New Year, so until then I'll be limited just because of the hassle of taking out and putting away.

I've started, but not finished… Science Fair by Julie Herman…


Mod Nine Patch by Elizabeth Dackson…


And a few others.


I've knitted quite a bit, though - as knitting is a little easier to do on an airplane.  I love my Sapphire, but she just doesn't travel well.


I hope you're all doing well.  I've missed you and I look forward to seeing you here more frequently now.  :)

 - Angie -

10.25.2012

time marches on

In the past three-and-a-half months, I’ve had so many back and forth conversations in my head about this blog. So much has happened, I’m in a bit of a tailspin. Obviously, the blog hit pause while… well… while life happened.

The end of grad school classes meant an extremely busy July for me, but all ended well and I found my schedule free once again.  I didn’t jump back into sewing right away, though I did get through a couple of small projects.  Mostly zipper pouches, charity blocks, and a couple of swap items for my guild.  Oh yeah, and I turned 40...LOL.  We had a big party at a local park and a ton of my friends were there.  Hot dogs, chips and cupcakes all around with a good time had by all.  Most people talk of big getaways and such for their landmark birthdays, but I wanted to be surrounded by my friends.  I never dreaded 40 - I’m happy to make it this far! - and I wanted to celebrate it with everyone I knew.

cupcakes

The month of August saw me temporarily play the part of single mom while hubby helped a dear friend during a 100-mile bike race in Leadville.  Good times and good timing, actually, as I was able to get in some much needed quality time with my boys.  My oldest started a full-fledged middle school program (remember, we homeschool with hubby at home), so I got to start him off on his first three weeks while Matt was away.   As soon as he got back, we celebrated the last family birthday of the year, as my youngest turned eight.

Then it happened.

In the early hours of September 7th, I got the call no one wants.  My mom’s voice was frantic as she told me something was wrong with my dad.  An hour later, she, my sister and I sat in the ED digesting those infamous words, “there was nothing more we could do.”  My daddy was gone. 

A heart attack hit while he was sleeping.  No signs, no symptoms, no complaints.  No goodbyes.

bday
My sister, me, Dad, and my oldest celebrating Dad's birthday last June

The last few weeks have been weird.  Sometimes happy, sometimes sad, sometimes just normal - like he is still around.  I’ve both praised and screamed at God...tearfully thanking him for a wonderful, loving, active father and then turning around and shouting in anger at Him taking away my boys' grandpa.  But it’s ok…God is big enough to handle all that.  We’ve worked through it and, if anything I have more faith now than ever.

To say the least, priorities have shifted and there’s been an immense amount of introspection.  Quite normal, I’m sure, given the acuteness of the loss.  I’m still sewing occasionally, but I’ve found more comfort in knitting.  Something I can do all snuggled up on the couch with my family or while watching TV.  Something portable to fill my idle hands when my nerves get bad and my heart sinks (as it still sometimes does). 

knitting
PJs, knitting, and Big Bang Theory on TV - my kind of therapy.  :)

I know I still owe y’all the Tangled Webs pattern...but I’ve lost my notes.  It’s coming, just a bit delayed as I have to re-do my measurements.  I also have several projects to share, including a new class I’ll be teaching at The Little General in January.   And I want to post pictures of the projects I’ve done since the summer.  So much to tell you.

But right now, I’m going to live life. 

My boys are still in fall baseball and their games are top priority for me.  Both have voiced that one of the things they will miss most about Grandpa is how he always came to their games.  He adored them and I’ll be standing in his place now.  Tanner is still struggling with his school workload.  He needs me...and it feels good to be able to help.  My mom has mentioned a Grand Canyon trip with the boys next spring.  She and Dad wanted to take them this past summer, but we couldn’t work it out.  To say the least, I’ll be doing all I can to make that trip happen.

Other than that, I’ll still be sewing - and knitting - and I’ll still check in occasionally.  I really do miss my online buddies.  I even bought a ticket to Sew South, which I’m looking forward to.  So nice to meet people in person.

In the meantime, my friends, love your families with all your heart and -  if needed, and as far as it is up to you - make amends where necessary.  You’ll not regret it.  The peace of knowing that goodbyes weren’t really needed is priceless.


Photobucket

6.23.2012

Box-Bottom Tote Tutorial

Summer is upon us and around here, that means one thing... BEACH!!

Each year, we start summer with a beach trip to Hatteras, NC with some friends.  Feeling the need for a quick project I decided to use up some tropical scraps I had laying around for a quick little beach bag.


tropical tote - final


Now, please note...I'm not one to lug everything but the kitchen sink down to the water.  I pack light, so my bag is light.  A book, some sunscreen,  bottle of water and maybe a small snack are all that go with me and my beach chair.  However, if you like to take more than that with you, this tote is still perfect for those little things that get lost (or covered in sand!) in those humongous beach bags.

The whole thing took about 3 hours - and that's with me stopping to take notes and pictures!  I'm sure your bag will go faster than that.   Enjoy!

Box-Bottom Tote Tutorial

Fabric:

To start, you'll need to choose an outer fabric, an interior fabric, and fabrics for your accent stripe.  You could probably use scraps for this project, depending on how big your scraps are.

NOTE:  Sewing is right sides together with 1/4-inch seams unless otherwise noted.

tropical box bottom tote 1


From the outer fabric:  Cut two 4.5 x 14.5 inch pieces, and two 8 x 14.5 inch pieces for the outer shell.  Cut two 4 x 18.5 inch pieces for the straps.

For the accent stripe, cut fourteen 2.5 x 2.5 inch squares.

From the interior fabric, cut two 14 x 14.5 inch pieces for the main interior and two 4.5 x 6.5 inch pieces for the slip pocket.

Directions:

Sew seven of your 2.5 inch squares together to form a strip 2.5 inches wide by (approximately) 15 inches long.  Repeat with the remaining seven squares so you have two strips.

Line up the long side of one of your strips with the long side of one of the 4.5 x 14.5 piece of outer fabric, right sides together.  Sew together and press seams to the outer fabric.


tropical box bottom tote 2


On the other side of the squares strip, line up one of the 8 x 14.5 inch piece of outer fabric and sew, right sides together.  Press toward outer fabric.


tropical box bottom tote 3


 You should now have a piece that looks like this:

tropical box bottom tote 4


Repeat with the second set, sewing the squares strip to the outer fabric pieces in the same way.  Trim to 14 inches across and 14.5 inches long.

Place your two outer panels right sides together.  You can chose to have the stripes meet or not.  I wanted my bag to look the same on both sides, so my stripes did not meet (see below).

tropical box bottom tote 5


Sew around the side, bottom and side edges of these pieces.  Do not sew across the top - leave it open.

To box the bottoms, pull your fabric apart and fold the bottom so that the seam is on top and the fabric forms a triangle.  Measure the tip of this triangle at two inches, using the 45-degree angle on your ruler as a guide.  With a fabric marker, mark the line on the left side of the ruler.  Sew on that line.


tropical box bottom tote 6


Once sewn, line up your ruler so that the 1/4-inch mark is on the line.  Trim.  This gives you a 1/4-inch seam.

tropical box bottom tote 7


Repeat for the other bottom corner of the bag.

tropical box bottom tote 8


Now, let's move to the pocket.  With right sides together, sew around all four edges of the fabric, leaving about two inches to turn. 

tropical box bottom tote 9


Turn the fabric right-side-out and press flat.  Tuck in your open edges at the top (the hole you turned the fabric through), press them inside and pin.  Topstitch across the top of the pocket.  It should be about 1/8-inch from the edge and it will close up that open spot.

The top edge should look like this:

tropical box bottom tote 10


Taking one of your interior pieces, pin your newly created pocket about 3-inches from the top edge of the interior piece.  Sew around the sides and bottom of the pocket, backstitching at the top on both sides for a little added strength.  (Leave the top open, or it will be a patch and not a pocket...LOL!)

tropical box bottom tote 11


 Now, to finish the interior, take your other large piece (14 x 14.5) and place it on the interior piece with the pocket sewn on.  Make sure your pocket is face up.

tropical box bottom tote 12


Just like the outer fabrics, sew the interior panels together on the sides and bottoms only.  Leave the top open.  Box the corners using the same method that we used for the outer fabrics... measuring two inches out and cutting a 1/4-inch seam.

When finished boxing the corners, turn your interior panel right side out (leave the outer fabrics wrong side out.)

tropical box bottom tote 13


Now, let's make the straps.

 Mark the lengthwise center of each of your 4 x 18.5 pieces with a fabric marker. 

tropical box bottom tote 14


Press each edge in to the mark you just made.

tropical box bottom tote 15


tropical box bottom tote 16


Then, keeping the edges in the center, fold the folded edges together and press. 

tropical box bottom tote 17


Pin together, then sew a 1/8-inch seam to close.  Then topstitch another 1/8th seam on the other side to match.  Repeat the same process to make a strap out of the second 4 x 18.5 inch piece.

Your finished straps should look like this:

tropical box bottom tote 18


To attach the straps, pin them so that the outer edge of the strap is about 2.5 inches from the edge of the interior piece.  Pin it so that the raw edge of the strap is a little over the top edge of the interior fabric, not lined up perfectly.

tropical box bottom tote 19


Pin the other end of the strap about 2.5 inches from the opposite side.  To ensure your strap doesn't twist, make sure it forms a "U" shape as shown below. 

tropical box bottom tote 20


Repeat with the other strap, pinning to the other side of the interior panel.  Be sure you are only pinning each strap to one part of the interior - don't pin your interior together in the process.

Now comes the fun part!

Tuck your interior piece - still right side out, with straps pinned in place - into the wrong-side-out outer shell piece.  Line up your boxed corners as best you can, but don't worry too much about them.  Focus on getting your side seams lined up.  Pin in place.

tropical box bottom tote 21


With the interior and exterior facing (with straps in between), sew around the entire top with a 1/4 inch seam, leaving a 3 or 4 inch opening to turn.  I also like to backstitch on each side of each strap, for a little more strength in that spot.

Once finished, turn the bag, pulling the interior and exterior fabrics through the hole you left open.  This part can get a little frustrating - take your time and go slow.  :)

tropical box bottom tote 22


Once you have the bag turned right side out, tuck the interior into the exterior, matching up your boxed corners.  Press your seams for a crisp finish, tucking in the seams at the opening that you turned the bag through.

Top-stitch a 1/8-inch seam - just like we did for the pocket - to close your opening and give your bag that nice, finished look.  Now, tuck in a good book, some water and sunscreen, and head out to the ocean or pool!

tropical box bottom tote 23


Enjoy your summer!!

Photobucket

Linking up:
BWS tips buttonFresh Poppy Design