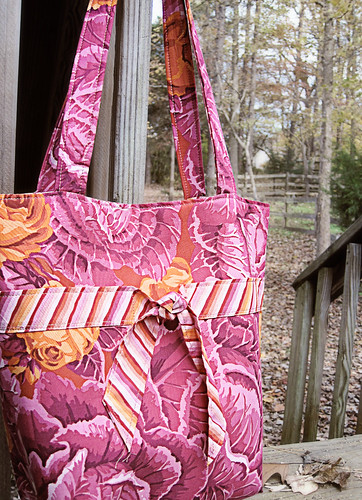
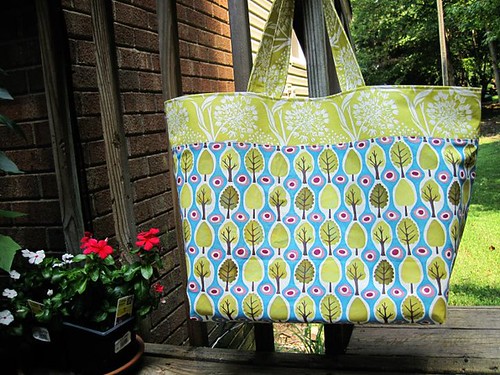
Each year, we start summer with a beach trip to Hatteras, NC with some friends. Feeling the need for a quick project I decided to use up some tropical scraps I had laying around for a quick little beach bag.
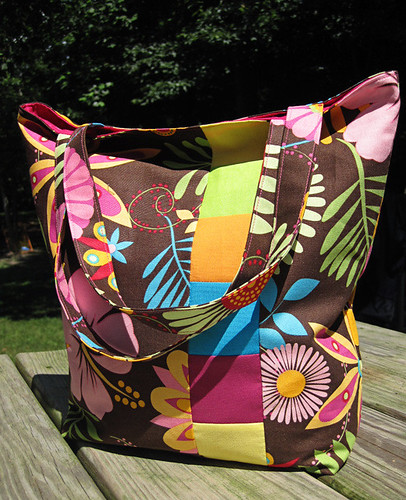
Now, please note...I'm not one to lug everything but the kitchen sink down to the water. I pack light, so my bag is light. A book, some sunscreen, bottle of water and maybe a small snack are all that go with me and my beach chair. However, if you like to take more than that with you, this tote is still perfect for those little things that get lost (or covered in sand!) in those humongous beach bags.
The whole thing took about 3 hours - and that's with me stopping to take notes and pictures! I'm sure your bag will go faster than that. Enjoy!
Box-Bottom Tote Tutorial
Fabric:
To start, you'll need to choose an outer fabric, an interior fabric, and fabrics for your accent stripe. You could probably use scraps for this project, depending on how big your scraps are.
NOTE: Sewing is right sides together with 1/4-inch seams unless otherwise noted.
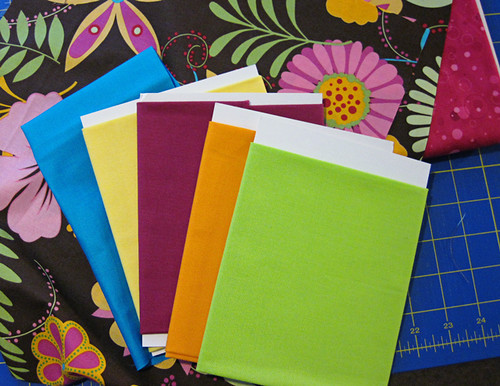
From the outer fabric: Cut two 4.5 x 14.5 inch pieces, and two 8 x 14.5 inch pieces for the outer shell. Cut two 4 x 18.5 inch pieces for the straps.
For the accent stripe, cut fourteen 2.5 x 2.5 inch squares.
From the interior fabric, cut two 14 x 14.5 inch pieces for the main interior and two 4.5 x 6.5 inch pieces for the slip pocket.
Directions:
Sew seven of your 2.5 inch squares together to form a strip 2.5 inches wide by (approximately) 15 inches long. Repeat with the remaining seven squares so you have two strips.
Line up the long side of one of your strips with the long side of one of the 4.5 x 14.5 piece of outer fabric, right sides together. Sew together and press seams to the outer fabric.
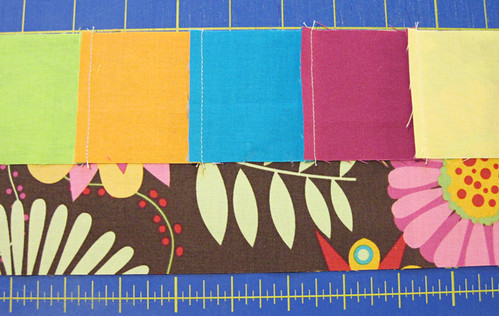
On the other side of the squares strip, line up one of the 8 x 14.5 inch piece of outer fabric and sew, right sides together. Press toward outer fabric.
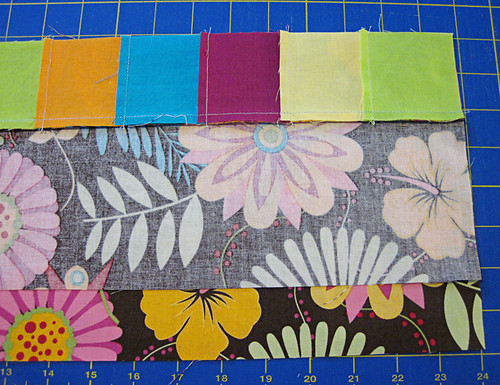
You should now have a piece that looks like this:
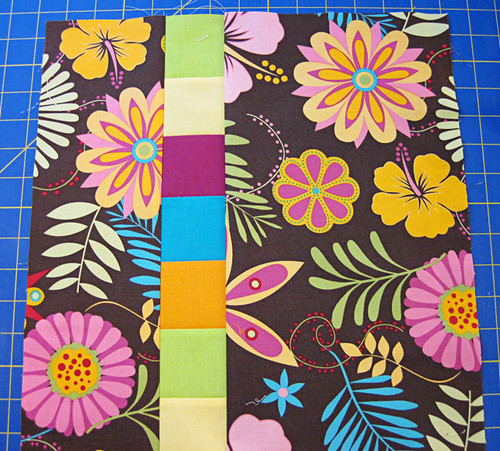
Repeat with the second set, sewing the squares strip to the outer fabric pieces in the same way. Trim to 14 inches across and 14.5 inches long.
Place your two outer panels right sides together. You can chose to have the stripes meet or not. I wanted my bag to look the same on both sides, so my stripes did not meet (see below).
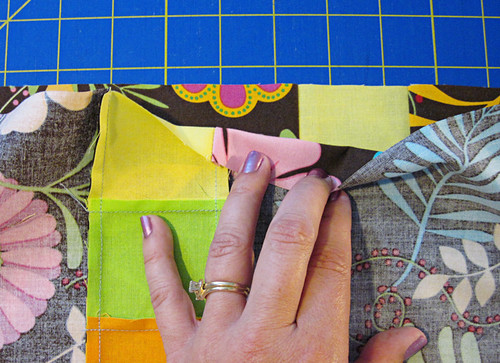
Sew around the side, bottom and side edges of these pieces. Do not sew across the top - leave it open.
To box the bottoms, pull your fabric apart and fold the bottom so that the seam is on top and the fabric forms a triangle. Measure the tip of this triangle at two inches, using the 45-degree angle on your ruler as a guide. With a fabric marker, mark the line on the left side of the ruler. Sew on that line.
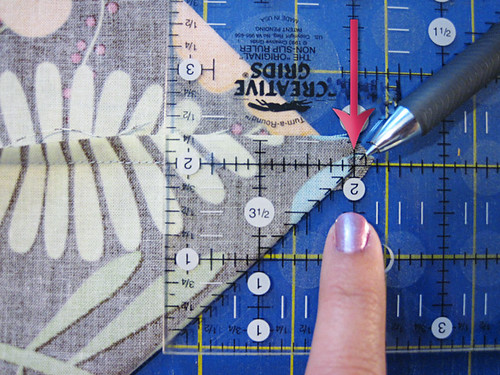
Once sewn, line up your ruler so that the 1/4-inch mark is on the line. Trim. This gives you a 1/4-inch seam.
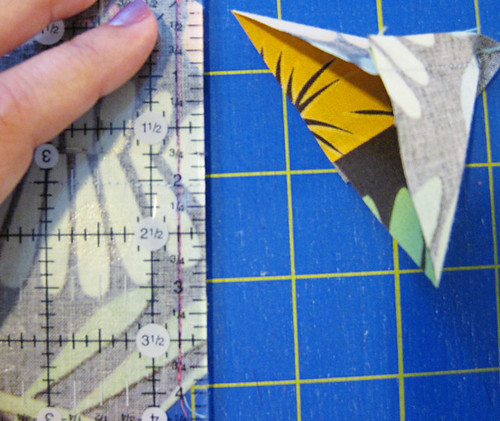
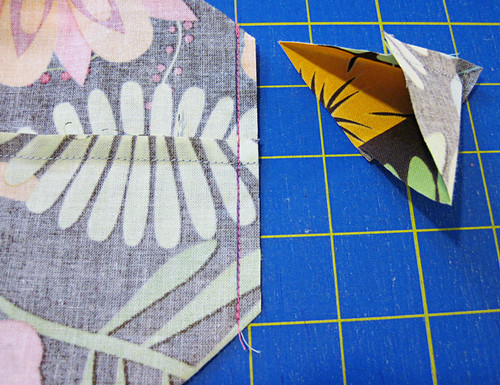
Repeat for the other bottom corner of the bag.
Now, let's move to the pocket. With right sides together, sew around all four edges of the fabric, leaving about two inches to turn.
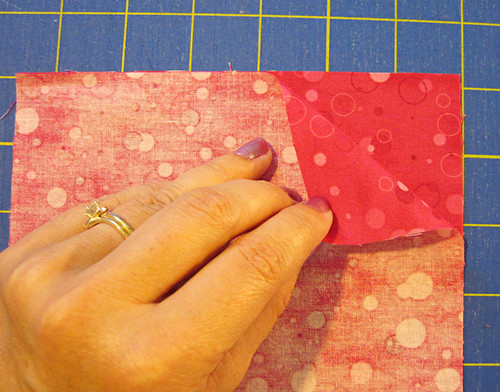
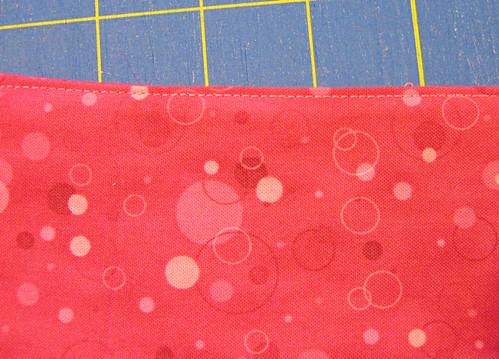
Turn the fabric right-side-out and press flat. Tuck in your open edges at the top (the hole you turned the fabric through), press them inside and pin. Topstitch across the top of the pocket. It should be about 1/8-inch from the edge and it will close up that open spot.
The top edge should look like this:
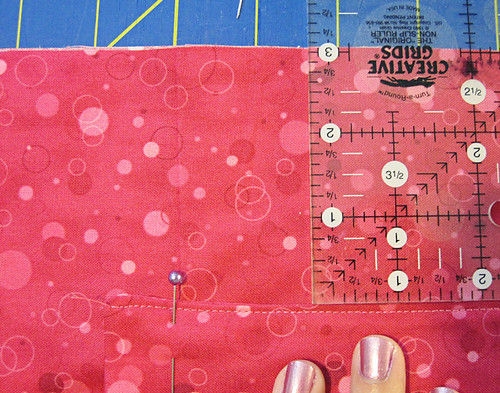
Taking one of your interior pieces, pin your newly created pocket about 3-inches from the top edge of the interior piece. Sew around the sides and bottom of the pocket, backstitching at the top on both sides for a little added strength. (Leave the top open, or it will be a patch and not a pocket...LOL!)
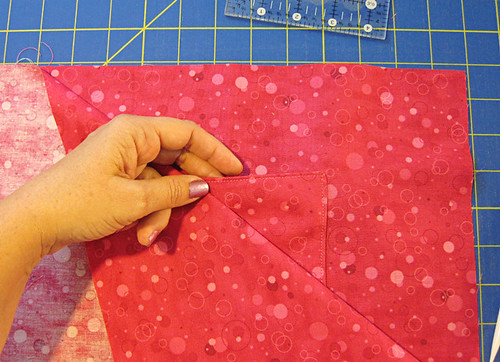
Now, to finish the interior, take your other large piece (14 x 14.5) and place it on the interior piece with the pocket sewn on. Make sure your pocket is face up.
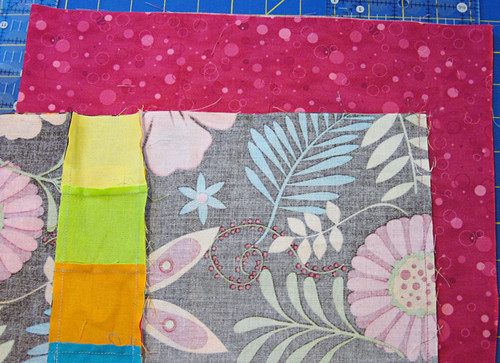
Just like the outer fabrics, sew the interior panels together on the sides and bottoms only. Leave the top open. Box the corners using the same method that we used for the outer fabrics... measuring two inches out and cutting a 1/4-inch seam.
When finished boxing the corners, turn your interior panel right side out (leave the outer fabrics wrong side out.)
Now, let's make the straps.
Mark the lengthwise center of each of your 4 x 18.5 pieces with a fabric marker.
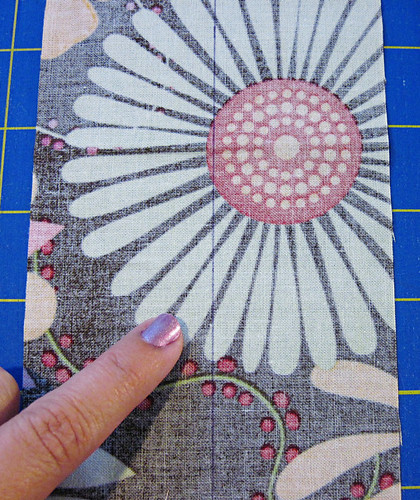
Press each edge in to the mark you just made.
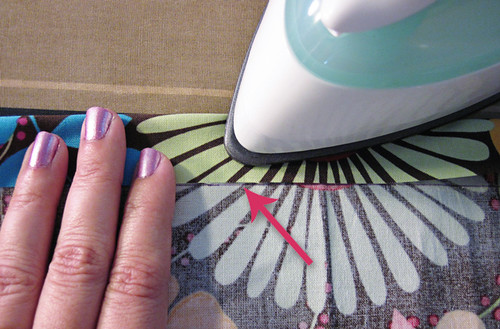
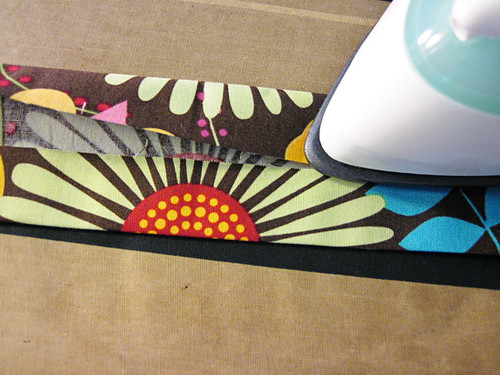
Then, keeping the edges in the center, fold the folded edges together and press.
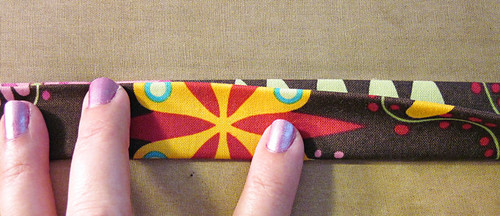
Pin together, then sew a 1/8-inch seam to close. Then topstitch another 1/8th seam on the other side to match. Repeat the same process to make a strap out of the second 4 x 18.5 inch piece.
Your finished straps should look like this:

To attach the straps, pin them so that the outer edge of the strap is about 2.5 inches from the edge of the interior piece. Pin it so that the raw edge of the strap is a little over the top edge of the interior fabric, not lined up perfectly.
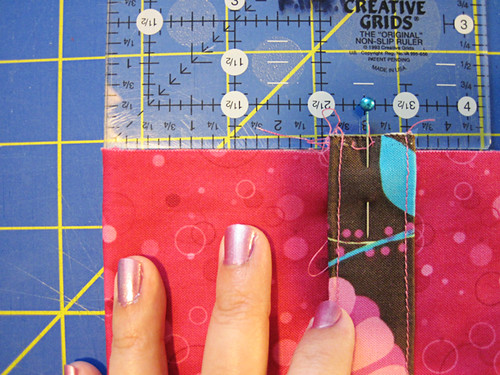
Pin the other end of the strap about 2.5 inches from the opposite side. To ensure your strap doesn't twist, make sure it forms a "U" shape as shown below.
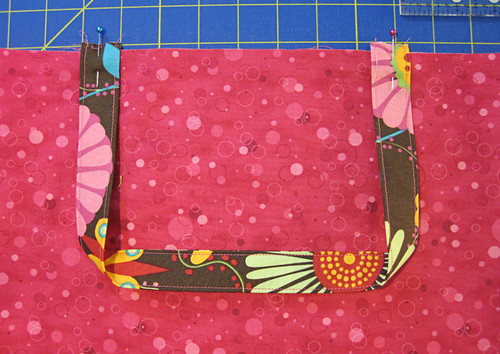
Repeat with the other strap, pinning to the other side of the interior panel. Be sure you are only pinning each strap to one part of the interior - don't pin your interior together in the process.
Now comes the fun part!
Tuck your interior piece - still right side out, with straps pinned in place - into the wrong-side-out outer shell piece. Line up your boxed corners as best you can, but don't worry too much about them. Focus on getting your side seams lined up. Pin in place.
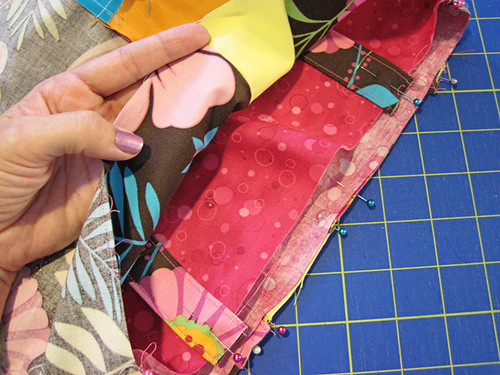
With the interior and exterior facing (with straps in between), sew around the entire top with a 1/4 inch seam, leaving a 3 or 4 inch opening to turn. I also like to backstitch on each side of each strap, for a little more strength in that spot.
Once finished, turn the bag, pulling the interior and exterior fabrics through the hole you left open. This part can get a little frustrating - take your time and go slow. :)
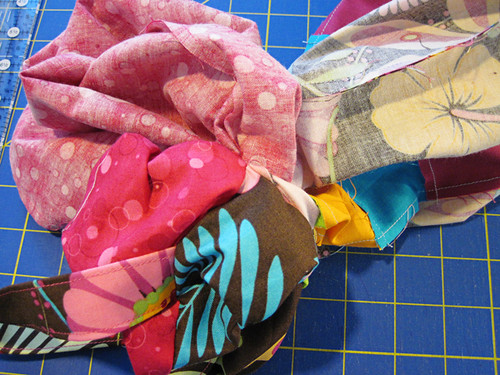
Once you have the bag turned right side out, tuck the interior into the exterior, matching up your boxed corners. Press your seams for a crisp finish, tucking in the seams at the opening that you turned the bag through.
Top-stitch a 1/8-inch seam - just like we did for the pocket - to close your opening and give your bag that nice, finished look. Now, tuck in a good book, some water and sunscreen, and head out to the ocean or pool!
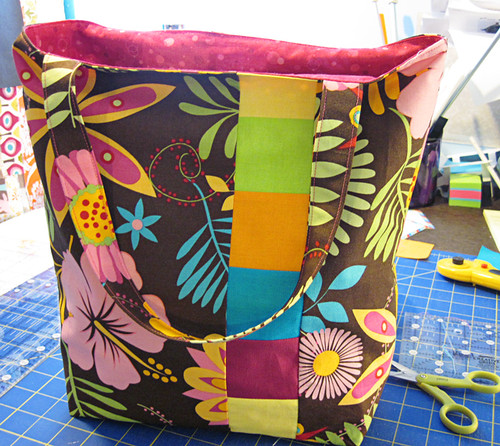
Enjoy your summer!!

Linking up: