Showing posts with label mug rugs. Show all posts

7.18.2011

Tutorial - Offset Log Cabin Mug Rug

Ever since I made my first mug rug, I've been hooked. I've participated in several swaps and made a few as gifts, too. They seem to be the perfect project...easy to design, very unintimidating (compared to an entire quilt), great scrap busters, and simple enough to finish in a very short amount of time. I love them!

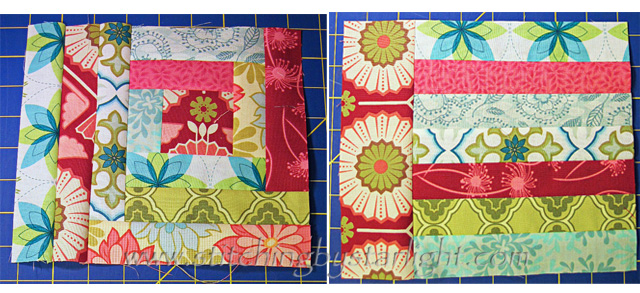
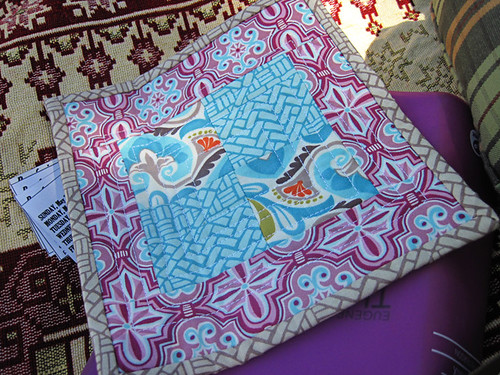
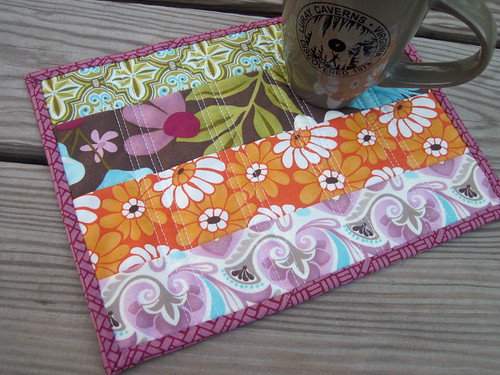
This is one that I made back in May for a swap. I decided to make a tutorial for it. It's based on a basic log-cabin block, but I wanted it to be rectangular in shape, so I off-set it just a bit.
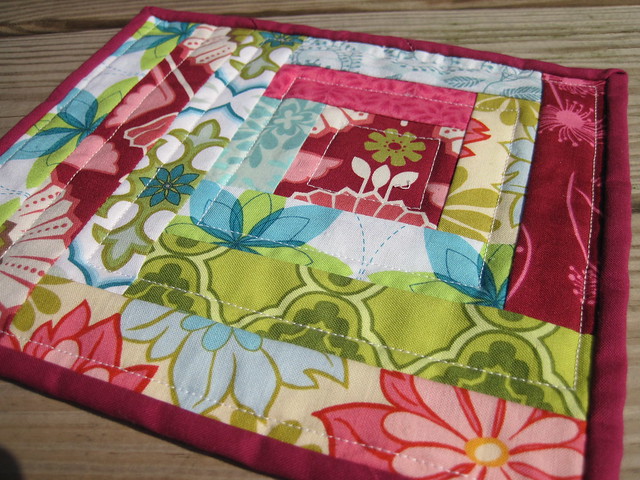

IMG_2423-1


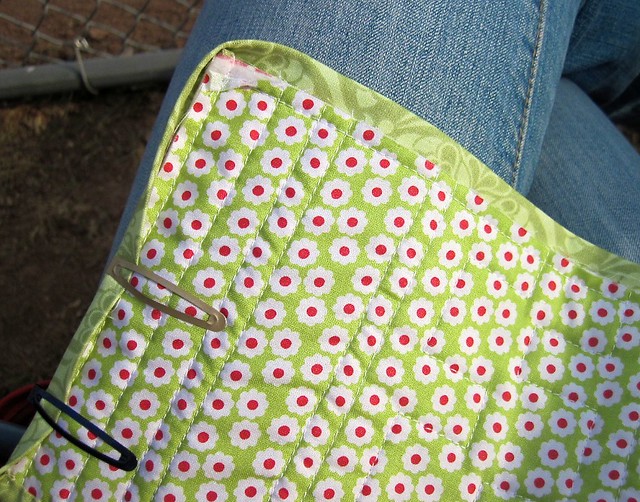
And, of course, you knew I'd make it reversible...LOL!
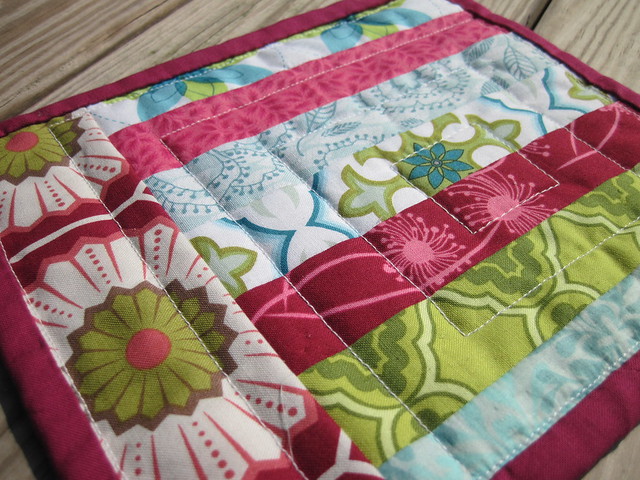


IMG_2425


So.... on with the tutorial!

Start by gathering scraps from you scrap bin, and match them up with good color and contrast. You'll need one 2-1/2 inch square (I fussy-cut mine) and several 1-1/2 inch wide strips of varying lengths.
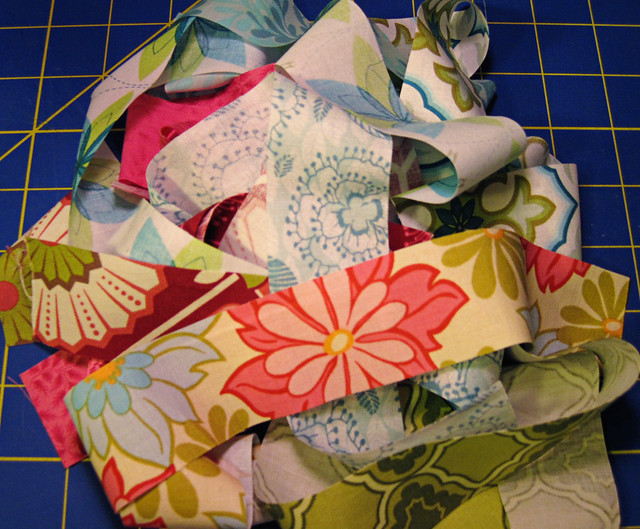

IMG_2372


Now, to those who like hard-and-fast measurements at the beginning, I apologize. But I didn't measure these out first. Hang with me and you'll see what I mean. :)

Starting with your 2-1/2 inch square, attach a 1-1/2 inch strip to each side, trimming as you go, to make a square.
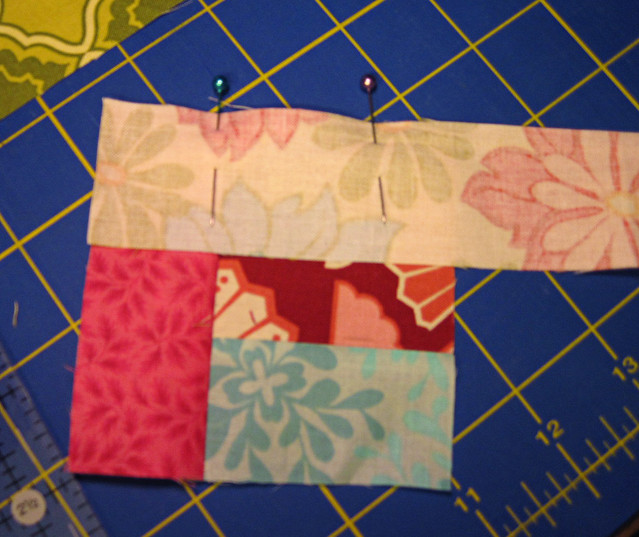

IMG_2375


Basically, you start at one end, sew the strip, press your seam, and them trim off the excess. (I pressed all of my seams toward the outside of the block.)

Voila! Round 1 complete.
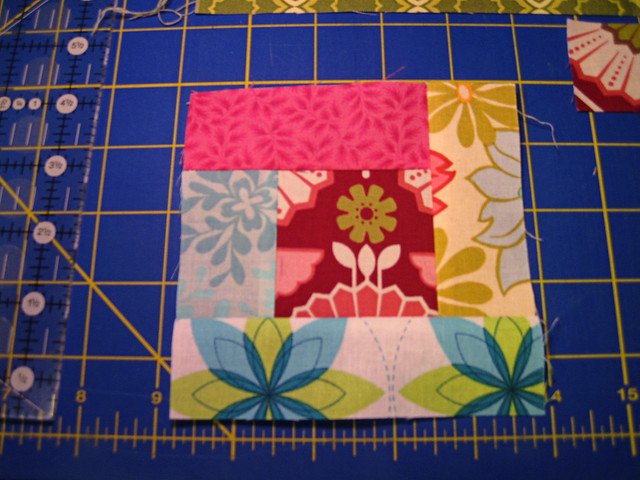

IMG_2381


For Round 2, continue adding "logs" to the block one side at a time, trimming as you go. I find it helpful to pin at my seams, but these are so small you may or may not want to.
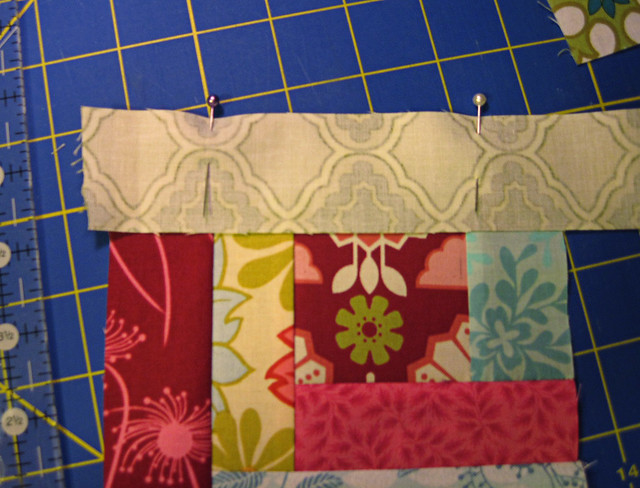


IMG_2383


Once you have Round 2 done, it's time to offset.  At this point -- especially if you fussy-cut your center square -- decide which way is up.  Add a log to the bottom of your square, press and trim.  Then, just as if you were working around the square, add a log on the left.  Repeat, adding one more log on the left.

Once trimmed, it should look like this:
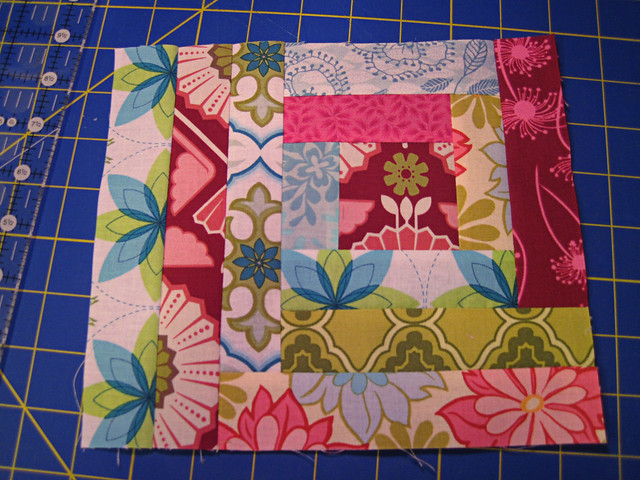


IMG_2387


Now, for the back.

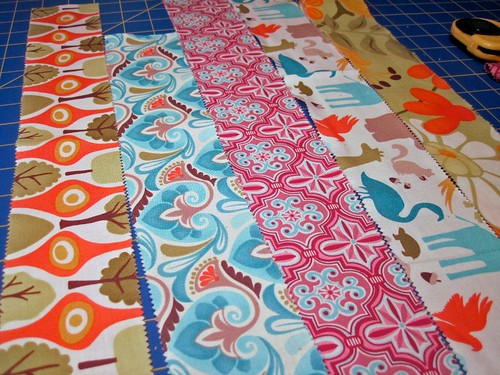
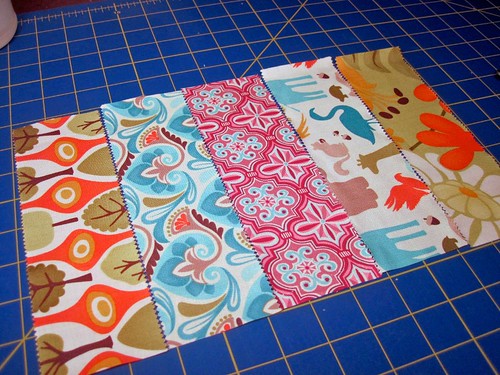
Choose five of your strips (or you could use five totally different strips) that are a bit longer than the width of your mug rug top. Sew them together, matching ends at one side, to make a strip set.
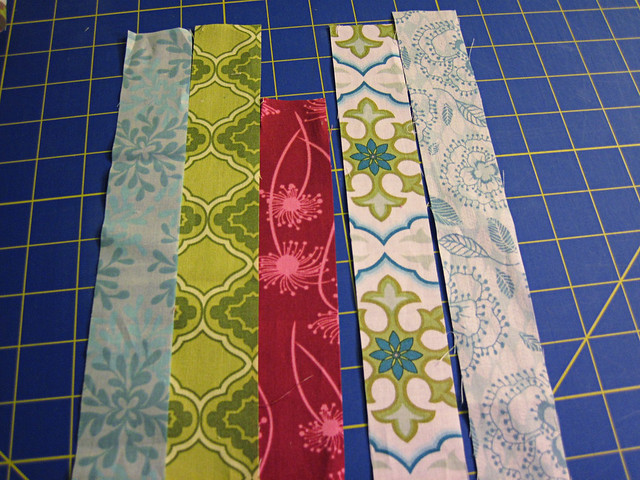


IMG_2388


Add a vertical strip to the even (matched) side of your strip set.
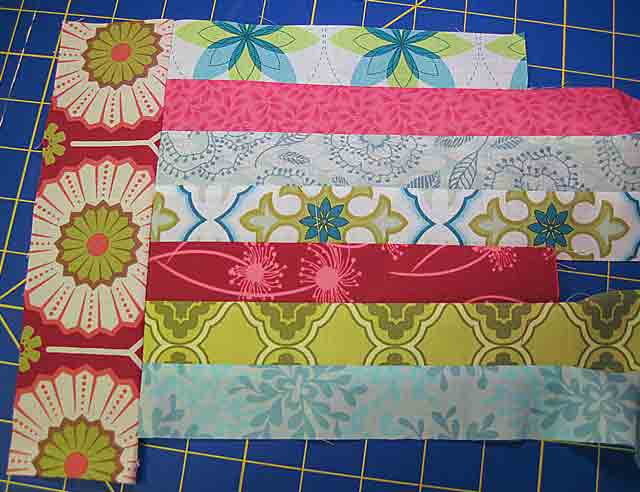


IMG_2390


Trim. Now you have front and back.


IMG_2392


For basting, line up the vertical strip on the back so that it is pretty close to the edge on the front - this will keep you from loosing too much of the vertical strip when trimming at the end.

Baste and quilt - I used a simple straight-line stitch, but there are many options to quilting this. Once finished, bind as you normally would a quilt, but consider using a thinner strip. I use a 1-1/2 inch strip for binding my mug rugs as a wider strip seems to overwhelm the mat. Test first - you may need to adjust needle placement for a less than 1/4-inch seam.

Your finished project should look something like this:


IMG_2423-1


I hope you enjoy using this tutorial. As always, please let me know what you think and if you make a mug rug using this, be sure to upload it to the Stitching by Starlight Flickr group!



BWS tips button


Photobucket

6.01.2011

back to "reality"

The trip was...

Outstanding.

Awesome.

Life changing.


I'm not even sure where to start, so while I'm gathering my thoughts over the next few days (or weeks) and processing it all out, here are some pictures.  I'm actually thinking of a "what I learned" series here regarding the culture and how different it was...and how it has affected my outlook on life.

Let me start with this:  If you ever have an opportunity to go on a trip like this, take it.  
Don't hesitate.  Go.

Don't let fear hold you back.  You'll never regret it.

On to the photos....

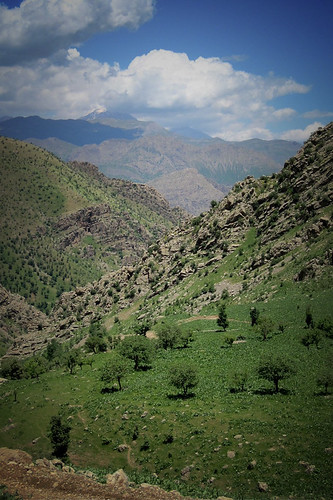
beautiful

This is the amazing and wonderful view we were treated to while driving to one of the local villages. Breathtaking.


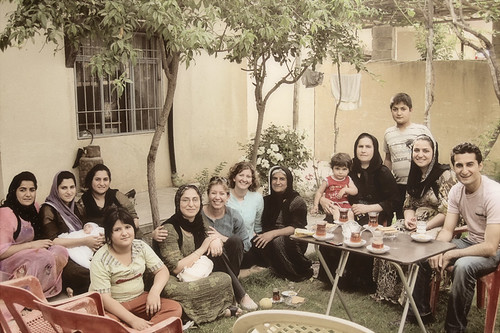
family

A photo with the family we visited on one of our first days there. We were walking through the neighborhood and one of the older women said hello. We started chatting and, next thing you know, we were invited into their home where we talked like we were old friends. One of the ladies' son (at right) spoke English and was a great help. They gave us water, tea, cookies, and fruit...and even shared the photo album from a recent wedding. Before too long, the entire family had shown up to visit us, including a less-than one month old baby. So wonderful.


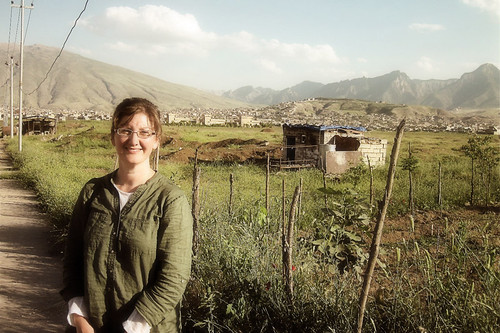
outskirts

This is me on the edge of the neighborhood where the women lived, with the rest of the town in the background (and the mountains in the distance). I think the building near me is a shepherds' hut, but I'm not sure. Not a house, but a place for them to rest during the day. There were several shepherds in the area.


As you probably guessed from the terrain and people's appearances, I was in the Middle East. It was amazing. Though fleeting thoughts of danger (worry, I guess) had occurred before the trip, not once did they occur while on the trip. We never felt afraid or threatened. I continue to be astonished at the warmth and hospitality we were shown...even by complete strangers.

More pictures will slowly trickle through as I post more. It's strange to not know what to say - there is just so much!

Oh, there is one more thing...

While I was there, I finished and gave away three mug rugs, including one I gave to the women pictured above (we went back later in the week). They didn't have anything like them over there, so who knows how it will be used.

I didn't get pictures of all of them before giving them away, only one. I really hate that I didn't get all of them - or, what would have been even better - a picture with the recipients. Oh well. Life is about living, not photographing, right? Besides, I have the images in my heart. 

Here is the one that I did manage to snap a photo of...

IMG_2659

Very simple, just a four-patch with a border. Still, I think it turned out very pretty.  Reversible, too...what did you expect?  Simple stripes on the back (no pic).

I also picked up some fabric while I was there to make a quilt for myself. I'll have to use stabilizer, but I think it will still work. There was no cotton to be found. Hope to have pics of that up soon.


Photobucket

4.20.2011

busy days

This is our first year with both boys in baseball. While I love, love, love it, it can sure make for some hectic weeks. Last night I got some good shots of my youngest at bat.

IMG_2217

IMG_2219

He made it to first base, then slowly around to second and third, but then was left stranded and never made it back to home plate. He's got a good swing and can really nail it when his timing is right. But his running.... well, let's just say we have to work on speeding up his little jog. LOL!

Being a little pressed for time in my Mug-Rug Swap, I took my latest one to the field with me to finish off the binding in between innings and during the slow spots. And given we are watching 6 and 7 year-olds, there were plenty of slow spots!

IMG_2213

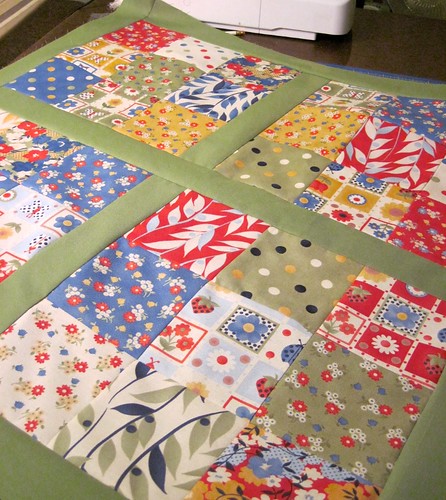
Once home, I took some time to catch up on my Spring Quilt Along. Even though I got started a day or two late, I'm still keeping up pretty well with everything. I was able to finish my last 9-patch and add my sashing last night. Not too bad.  Borders will be next, maybe tonight or tomorrow...we'll see.

IMG_2222

All in all it was a fairly productive night. I managed to finish the mug rug and I hope to get it in the mail tomorrow. I had planned on today, but things got a bit crazy...again. Looking forward to a slow, restful weekend.

Happy Easter, everyone!

Photobucket

4.01.2011

Reversible Mug Rug Tutorial

One of my favorite things about the quilt-blogging community is the sense of generosity and helpfulness that seems to overflow at each website. When I first started my quilting journey, one of the ladies in the local sewing shop told me "a good quilter is always happy to get someone else addicted to her hobby," and, boy, was she right. And it's even more true of the online community.

So in the spirit of giving back (and goodness knows I owe plenty considering all the freebies I've downloaded), I present to you my very first tutorial. It's on my Central Park mug rug, which I adore. This is the first mug rug I made as part of Two More Seconds "Mug Rug Madness". The original inspiration was from the tutorial by A Cup and A Catchup, which is where I got the idea for the stripes and adding wording.

It was simple and fun - and I hope this will inspire you to make one, too.


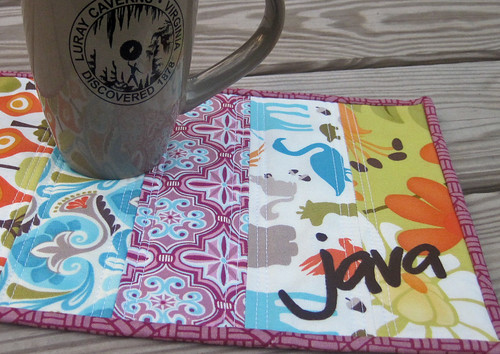
Central Park Java Mug Rug

IMG_2017


Supplies: Jelly Roll or other 2.5-inch strips (leftovers/scraps will work fine), one full jelly roll strip (2.5 inches by 42 inches), 9" x 12" piece of batting, contrasting fabric for letters, iron-on fusing.

Directions: To begin with, audition your strips and decide which ones you like. Choose five for the front and four for the back.

auditions, anyone?

Cut the five strips for the front to 8-1/2 inches by 2-1/2 inches.

strips for the back


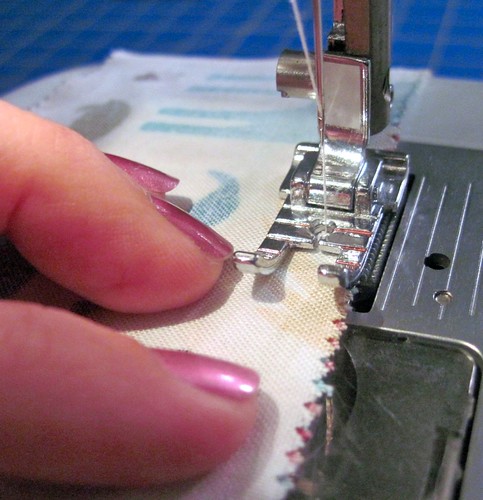
Sew together and press. (After pressing to one side, I went back and re-pressed my seams open. This seemed to help the top lay more flat, which is good since I'll be using this for glasses/mugs.) Remember to use a 1/4-inch seam...and a scant 1/4-inch is even better.

stitching away


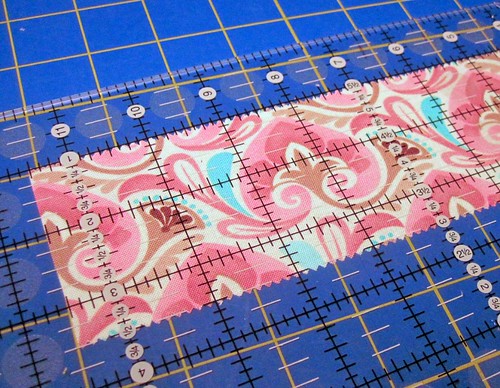
Cut the four strips for the back to 11.5 inches by 2.5 inches.


trimming the back strips

Sew together and press.

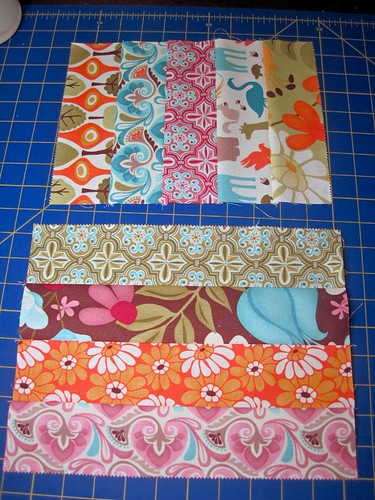
You should now have two sets of strips, a top with five vertical strips and a back with four horizontal strips. Square up the front and the back, leaving the back a bit larger.

front and back


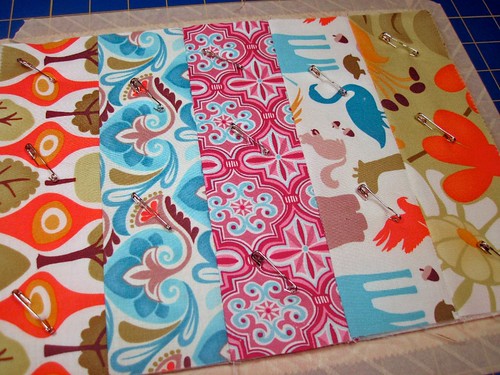
Place the back (horizontal strips) right side down on your cutting mat and tape down. Arrange batting on top. I like to line up at least one edge here to prevent excessive waste. Place the front (vertical strips) right side up on top of batting. Pin, if you wish.

basting


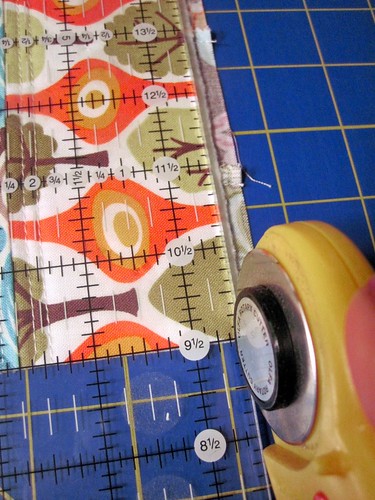
Quilt however you choose. I decided to echo the seams with straight-line stitching. This gave a nice perpendicular stitch to the horizontal strips on the back. Once quilted, trim up your edges so you will have a straight line for your binding.

trimming back


Binding:
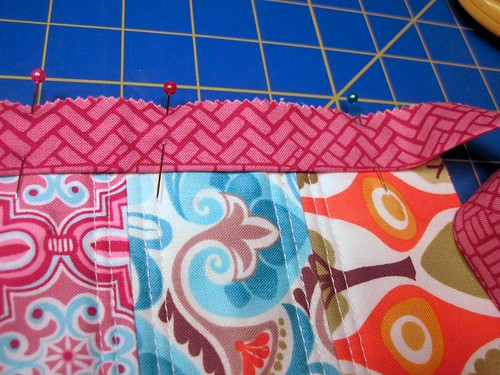
For the binding, I cut my full jelly roll strip down to a width of 1-3/4 inches. I like this width because it seems to take up less space on the mug rug and isn't so overbearing. If you aren't comfortable with this, you can certainly choose a larger width. I like it because it seems more proportional to the size of the finished project. Regardless of the width you choose, fold and press in half down the entire strip. Then attach to the mug rug, raw edge to raw edge. (For binding basics, I highly suggest Julie's tutorials at Jaybird quilts. Absolutely fabulous.)

pinning the binding

When stitching on the 1-3/4 inch binding, I also shifted my needle two places to the right of center. If you do this, be sure to manually check that your needle will not hit your sewing foot. Not checking first could break your needle and send shrapnel flying. This is bad.

Again, for corners and finishing off, see Julie's binding tutorials and/or bind in the way you would normally bind a quilt. I hand-stitch mine to the back, but machine stitching will work, too.

For the letters:
Choose the letters/word you want to fuse to the mug rug. Some ideas are "java", "latte", "tea", "snack time", or even monogramed initials. Whatever you want is what you should use!

Pick a pretty font, type your letters/word in a word processor (MSWord, Pages, etc.). Once you are happy with the appearance, increase to a good font size, and print it out. If you need font ideas, check out all the free fonts over at Fonts for Peas. The font I used is Pea Alexis.

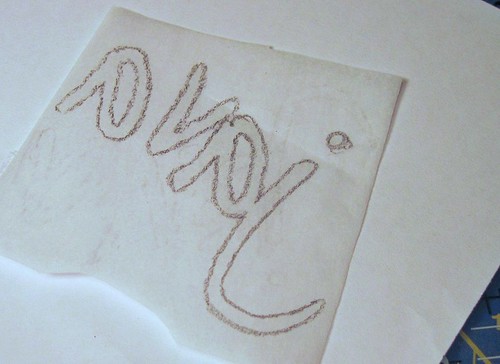
Take the paper and cut enough fusible web to cover the letter/word area. Trace the letters with a pencil BACKWARD onto the smooth side of the fusible web.

tracing backwards

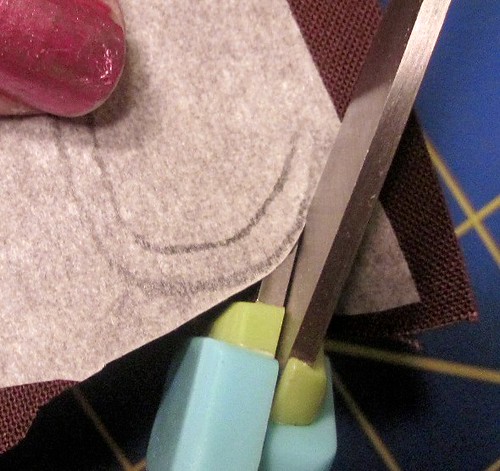
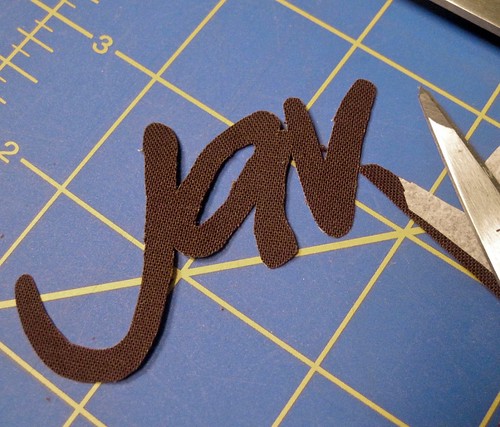
Iron the fusible web to a similar sized piece of fabric and carefully cut out the letters.

IMG_2014

IMG_2015


Peel the paper off of the letters and place them on the front of your mug rug. Press into place (don't iron, as it could move the letters). If you want, you can stitch these down by hand. I didn't, but I'm keeping an eye on my edges. If they start to lift, I'll likely go back and do this.

Now, stand back and admire your brand new mug rug! Front. . .

IMG_2017

. . . and Back!

IMG_2020


If you end up making a mug rug based on this tutorial, I'd love to know about it! Feel free to leave a link in the comments below.

Enjoy!!


Photobucket

3.22.2011

mug rug #1

I was so excited about the new Mug Rug madness over at Two More Seconds - and about finally getting my machine back last night - that I went straight home and got to work on the first mug rug challenge.  The tutorial was from Miss Nova at A Cuppa and a Catch Up and was quite darling.

But... me being me... I had to change it up a bit.  LOL!

First, I'm not a big tea drinker, unless it's iced and syrupy sweet, so that had to go.  But, I like the stripes and the letters... so I substituted my own word... Java!!  Here is my little creation.


And she's reversible!!


I used the Central Park jelly roll strips I had leftover after I cut my fabric for the FlipSide quilt I'm doing.  The letters are from Pea Alexis, one of Amanda's Font's for Peas that I simply printed out, fused, cut and ironed on.  I may go back and applique them, but not sure about that just yet.  We'll see how they hold up.

Oh, I love it.  I have it sitting on my desk, holding my java, of course. It's such a bright little addition to my otherwise boring desk.  :)

It was so easy to make...probably under two hours, and that includes hand-stitching the binding to the back.  I'm seriously in love with these little creations and see many more in my future!


Photobucket

3.21.2011

mug rug madness...

Have you ever wound up on a blog and wondered how in the heck you got there, but you're so glad you got there? That happened to me today, and I'm so glad I found "two more seconds" because today is the kickoff of her Mug Rug Madness week.


If you're scratching your head and wondering what the heck a mug rug is, then take a look at some of her posts featuring mug rugs.  I'm currently in love with them, and actually just finished my first last week.  (Sorry, no pic.)  I'm far from satisfied with it, though, and want to try again.  Not sure it will ever see the light of day, really... LOL.

I think these little rugs are just dang cute, and will make sweet little gifts for some friends.  They're perfect for the office, or as snack-sized place mats or even large coasters.

By the way - if you want one, let me know and tell me the colors you prefer (if you prefer any).   I think I'm going to make one out of my Central Park leftovers tonight.  :-)

Photobucket